
By: Frank Linton
It’s not as hard as you think.
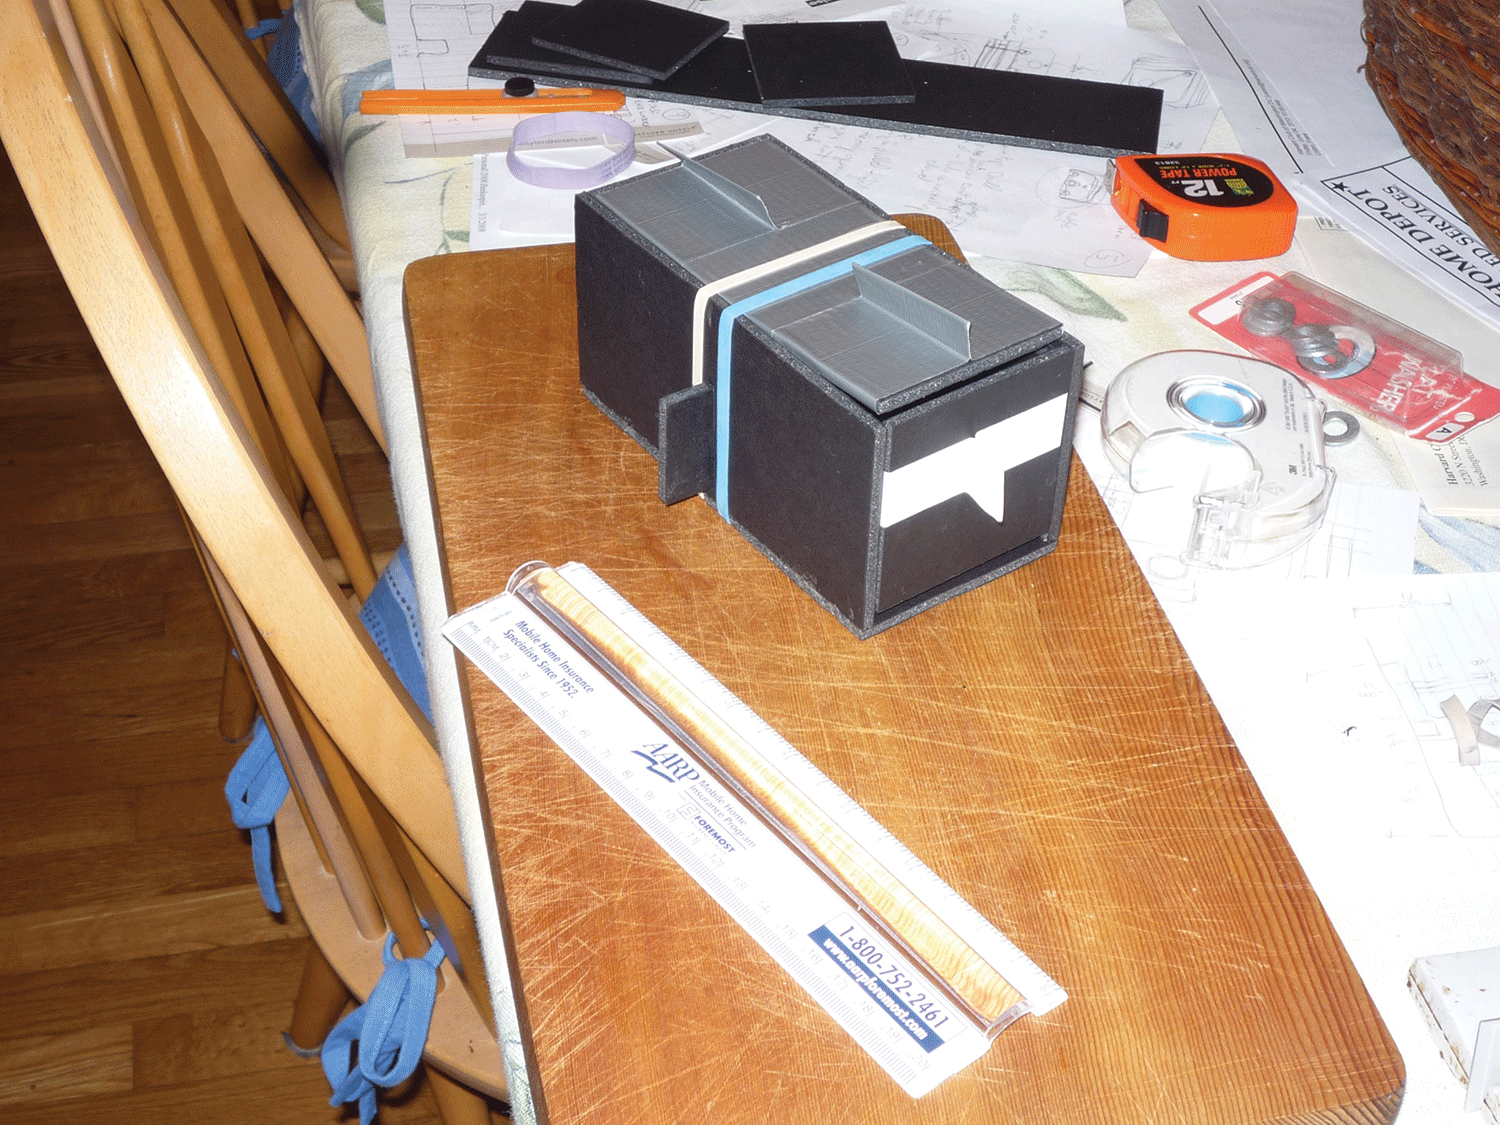
Figure 1. Beelining box made with foam core board, Plexiglas, and duct tape. The foam core board pieces are glued together. The Plexiglas top and its hinged covers are fastened with rubber bands. Hinges are duct tape.
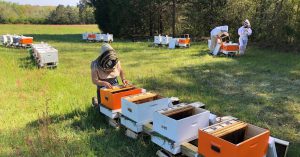
Tom Seeley has written a delightful book on the ancient art of lining honey bees Following the Wild Bees: The Craft and Science of Bee Hunting. You can line bees yourself. One of the few bits of equipment you will need is a bee lining box. If you have a shop, you can make a wooden one. Inspired by Tom’s design, but without access to a woodworking shop, I made a bee lining box on my dining room table using just a ruler and a utility knife.
I made the box with black foam core board from a craft store and glued it together with an adhesive I had handy (Figure 1). I made the top of the box from Plexiglas, which is easily scored and snapped (Figure 2). For hinges I used duct tape. I used rubber bands to hold the Plexiglas top and its hinged covers in place.
The box consists of two compartments, each with a Plexiglas top. The Plexiglas has hinged covers to control the light entering the compartments. One compartment has a hinged door on the end. This compartment is used to catch foraging bees. Between the two compartments is a sliding door (Figure 3). Bees caught in the first compartment are moved to the second compartment through the sliding door. You can find instructions for lining bees and details for how to use the box in Seeley’s book and in other bee lining references. 
The dimensions of the box are not critical. Each of the two compartments is roughly cubical (I used cubes 3 inches on a side). The construction is pretty-much self-evident from the photos. One thing that is helpful in making a sturdy box is to use two layers of foam core board on the base, ends, and sides. This will give you stronger joints. Two layers of foam core board also make it easier to recess the upper edges and nest the Plexiglas and its covers in place. Take note of the design and construction of the end door.
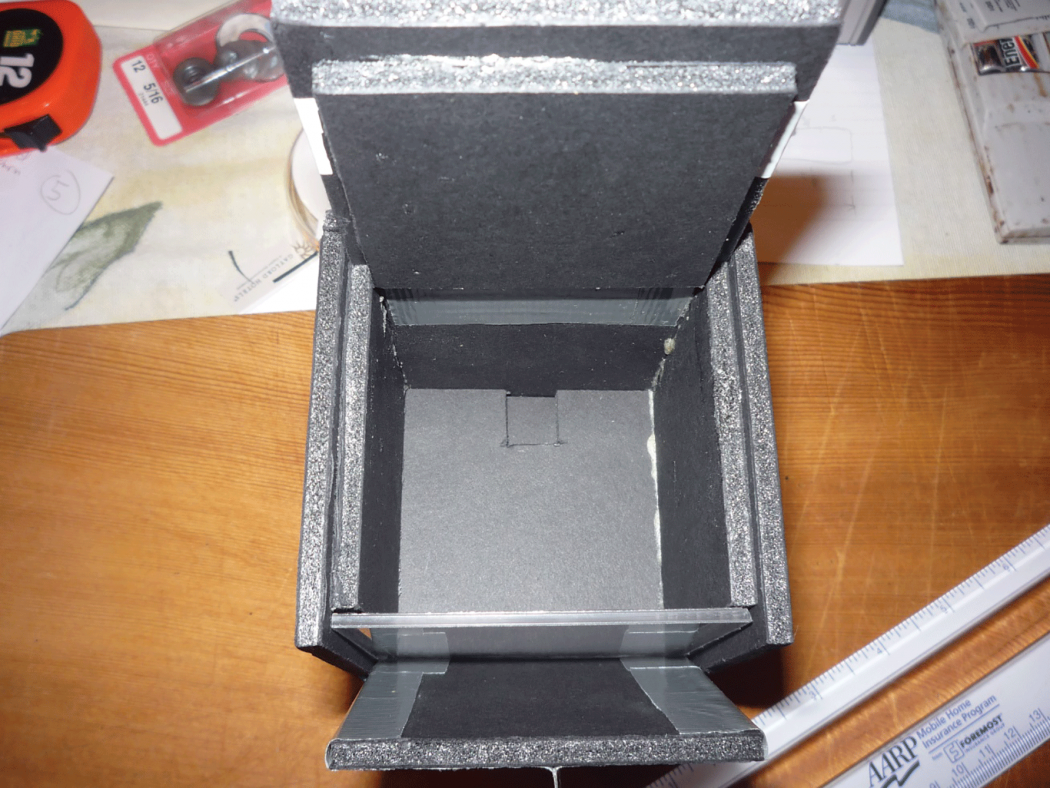
The trickiest part to make may be the sliding door between the two compartments. I put the sliding door between two layers of foam core board. Push the slider all the way in one direction to open the door and all the way the other direction to close the door.

Figure 3. Interior view showing the sliding door, closed, between the catching compartment and the holding compartment.
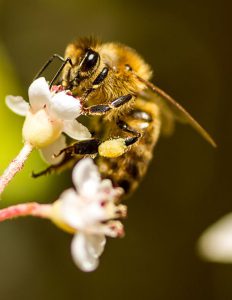
You will need an in-box feeder to start a beeline. You can then feed the returning bees with a larger external feeder. For the in-box feeder, instead of the traditional honeycomb, which can be messy, I use a large bottle cap to hold a piece of sponge soaked in sugar syrup.
Enjoy.