By: Jim Thompson
Perhaps the oldest and quickest method in removing honey from a hive is the brush method where a beekeeper opens the hive and brushes or shakes the bees off of a frame and puts the frame into an enclosed super or box that keeps the bees off of the frame.
It is a good method as the frame or frames get inspected to see that they are full of honey and fully capped. Frames that contain brood, open cells of honey or have no honey are left on the hive for the beekeeper to make a decision on their future at a later time.

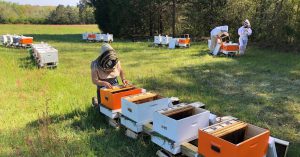
An entire honey super can be removed from the hive by banging the super on the upturned hive cover. The bees are dislodged and the super can be put in an area where robbing bees will not bother it. This super could have areas of brood, high moisture honey and cells of various stages of filling unless you did the required manipulations before this day. An advantage of this method is that only one trip to the beeyard is used. Other one trip methods of removing honey supers from a hive are by using fume boards and chemicals such as Bee Go, Honey Robber, or Bee Quick. Some of these chemicals have an unpleasant odor and so you must be careful to not get the chemical on your clothes. However if you have a perverted sense of humor, you could take the fume boards to a shopping mall and leave the fume boards in the back of your truck and watch people experience their encounter with benzaldehyde. A couple of these chemicals work better if the temperature is warmer or heat is applied. The use of a bee blower is used by some beekeepers to remove bees from the supers. Some will mention that this is hard on the bees as they may suffer physical damage when they are blown out of the supers. Some beekeepers have used smoke to drive the bees out of the honey supers. Although this is a quick method, it is not one of the preferred methods as the departing bees chew holes in the cappings and the smoke odor can be absorbed by the honey.
The two trip methods of removing honey supers are easier on the bees, but require more time for the beekeeper as there may be rearranging of frames and supers, and that second trip.

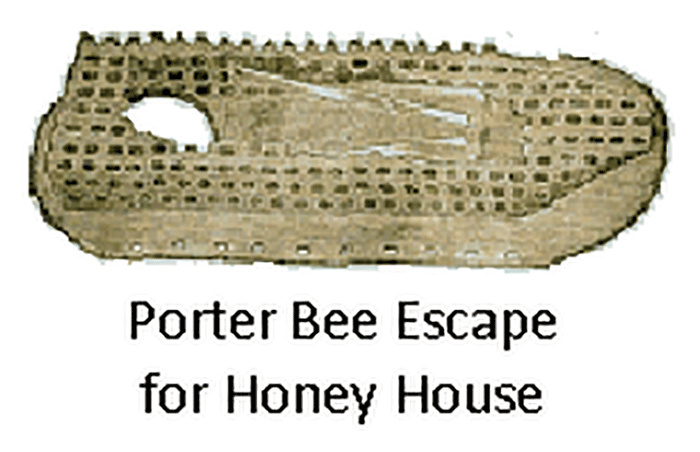
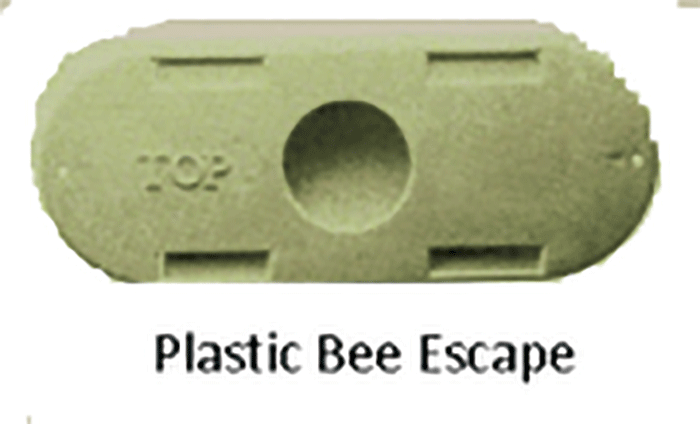
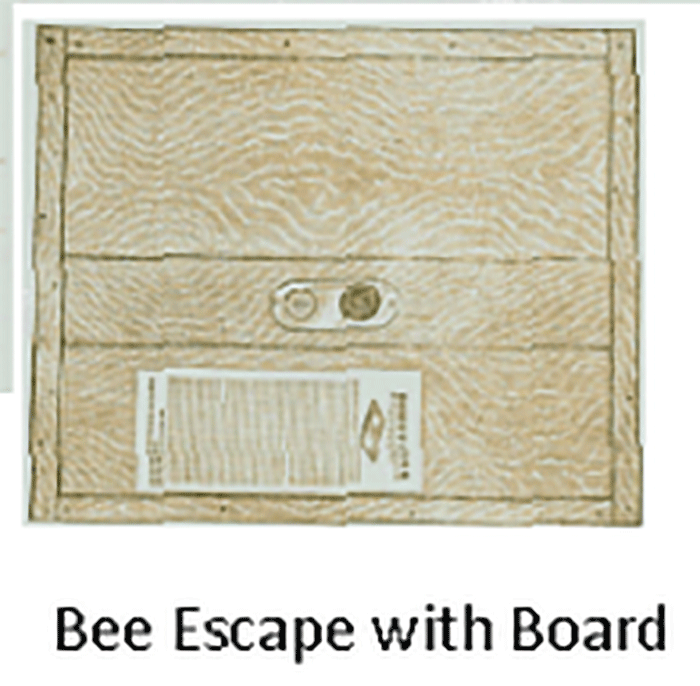
The Porter bee escape was first used in the 1890s and was a single ended metal device that would allow bees to go only in one direction. The escape was placed in an oblong hole and had a hole that was approximately 7/8” in diameter on top. The bees would go through the hole and then through a pair of metal springs and find themselves in the super below. A model of this Porter bee escape that had metal projections for fastening it to a honey house wall was also available. In 1915, these two Porter bee escapes were available plus a new double ended Porter bee escape. By 1922, the single ended Porter bee escape was phased out of the Root line and two bee escape boards became available. The metal double ended Porter bee escape continued to be sold until 1983 when it was changed into a plastic model.
The bee escape boards of 1922 were an inner cover fitted with a Porter bee escape while the other one, Hodgson Ventilated Bee Escape board, had a center board that went sideways or across the board and a screen field. The escape board with the fitted Porter bee escape was sold until 1949. The ventilated escape board was discontinued in 1925, only to be brought back in 1988 as a ventilated escape board/moving screen. In 1991 it was discontinued again.
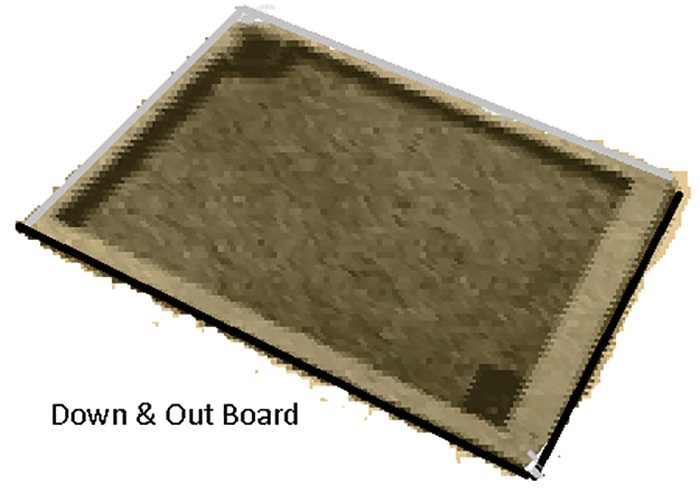
From 1967 to 1981, the Root Company sold a new ventilated escape board that many beekeepers refer to as the “down and out board.” This board had three piece side rails that would hold the screen wire and two Porter bee escapes in opposite corners. Bees could go down through the bee escapes into the super below or out to the outside of the hive through gaps in the three piece rim.

Many beekeepers made bee escape boards that held up to six Porter bee escapes. The beekeepers that had years of experience using Porter bee escapes had several rituals that made the escapes work well for them. First they would soak the bee escapes in alcohol each fall after using the escapes, to clean off the propolis and beeswax, making the escapes appear and work as brand new. Many beekeepers do not know that the bee escapes slide apart and the springs inside must be adjusted to the width of a bee or a regular sized wood pencil. If the gap between the springs is too small, the bees will not be able to get through the springs and if the gap between the springs is larger than the bees, the bees can go either direction through the escape. The frames in the honey supers must be checked for brood and uncapped honey and those frames moved physically to a part of the hive that is not going to be affected by the removal of the honey frames. Bees will not leave developing and hatching brood, so it may appear that there are more bees in the honey supers. To make the bee escapes work even better, two or three small holes of about 1/8” in diameter can be drilled through the metal at the bottom of the escape in the 7/8” entrance hole area. You might call them communication holes. Some beekeepers liked to staple or screw the escape to the inner cover because they said that the escapes fell out, but in fastening the escape, another board could be used upside down to let bees get out above the honey super and two escape boards could be used. All holes or gaps in the super that lead to the outside must be sealed or you may have an entrance into the super that you are wanting to remove and the bees can remove the honey out of that super in the 24 hours. If the Porter bee escapes are used properly, the bees will often be out of the super in 24 hours however some beekeepers allow up to three days. I would not wait longer than that because of the beetle situation. A few beekeepers have mentioned that small wedges outside of the springs should be inserted in the escape to keep the bees from clogging up the escape. I feel that this is unnecessary if you are using the bee escape properly, it won’t be on the hive long enough to cause you problems.
For years beekeepers have known that a funnel made of screen could be used as a one way device. Small funnels were used in the queen and drone traps while larger ones could be used on buildings where bees had inhabited. The small end of the funnel is slightly larger than a drone. When the funnel is put on a building, the length of the funnel is important as the bees will tend to seek the former entrance at the base of the funnel and will seldom go out to the small end if it is 8” to a foot away.
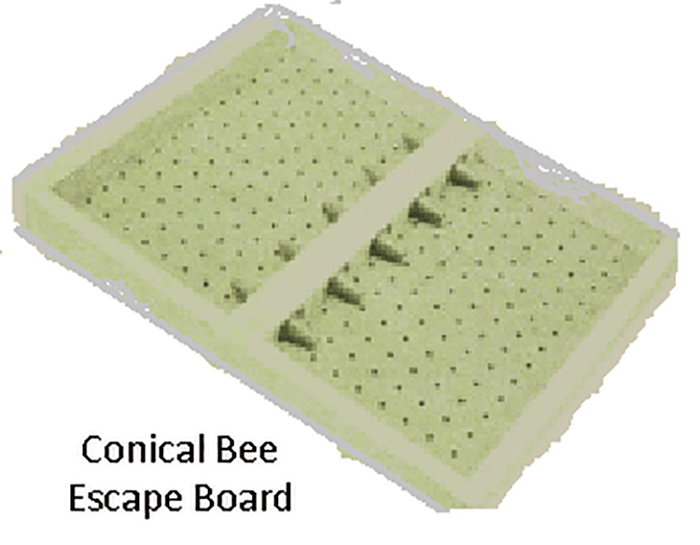
In 1983 the Vladimir Shaparew invented a conical bee escape board that used 10 plastic cones. The cones were mounted on a board that went across the hive and had a wide channel in it. Vladimir’s original idea was to use 1/8” hardware cloth on the field of the escape board, but when the bee supply companies started making the boards, peg board was used. The peg board models work okay but the screen models work so much better. The escape board is placed under a super that is going to be removed and the beekeeper should check the super to make sure that there is no sealed brood or unfinished frames. The bees normally will be out of the super in six hours, but you can allow more time to make it convenient for you. If you forget and leave the escape board on the hive for a week, the bees will build burr comb on top of the frames and start using the small end of the cones as entrances to the super that you are planning to remove. I like the screened escape boards because of the good view of the displaced bees that have been removed from the super. It indicates how hard the board should be banged or smoked to make the bees move down into the hive so the escape board can be removed. Peg board models hide much of this view of the bees. With the screened model, one can insert a plug in the groove or duck tape the groove shut and use the escape board as a moving screen. There are perforated cones available which may make a conical bee escape board work even faster when put on a peg board model. If you plan to make any of these boards, drill the holes for the cones in the center board from both directions before you cut the groove. The wood will not splinter as badly.
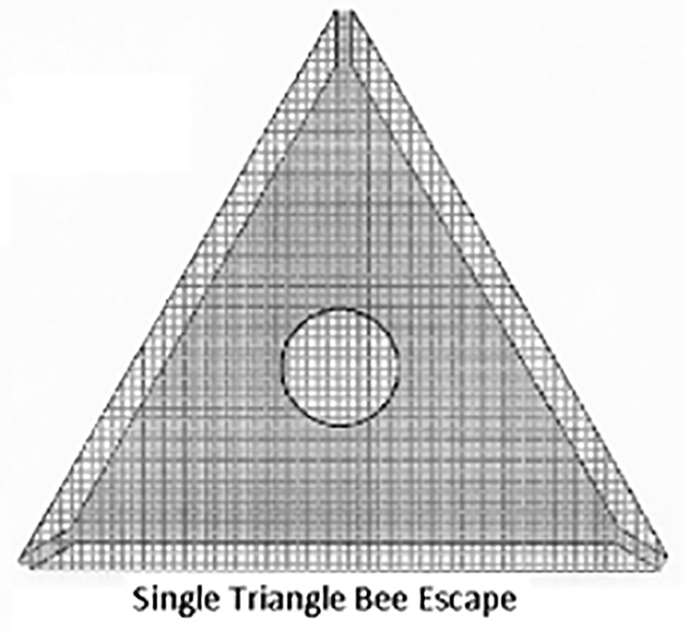
The triangular Canadian bee escape board and the many variations is another very good escape board. There are no moving parts and the board can be used upside down. The one sold by many dealers is the double triangle board, but there have been four sided models and boards with additional blocks to form mazes. The bees go through a hole in an “Inner cover” and find themselves on a communications screen. When they are walking, the boards guide them to an exit, which is just big enough for a bee to go through. Bees on the other side of the escape board have a difficult time finding the exit/entrance as it is above their heads when they are standing on the frame top bars. The exit is disguised as much as possible and most of the bees will be drawn to the center to do their communications with bees in the top super. If a bee manages to get into the escape board through the exit, the additional boards inside of outer shape do a good job of guiding the “intruder” out at the exit. Again these boards work fast to get bees out of the supers and some say that six hours is enough. One report that I read mentioned that most of the bees were out in 15 to 20 minutes, but I have a hard time believing that. The larger screen area makes it difficult for the bees to find the exit points because of the distance. However, again, if these escape boards are left on too long the bees will find the exits. I like to imagine what the bees would experience if they had their own GPS system telling them to turn right or left. When they reached the exit and found themselves on the top bars of the frames, they might hear their GPS telling them, “You have reached your destination.”

There are other bee escapes on the market and when you analyze them, most of them are incorporating the same principles. So I thought that I would just mention them and show a picture or drawing of some of them. The real test is to find the type of bee escape that fits your style of beekeeping.

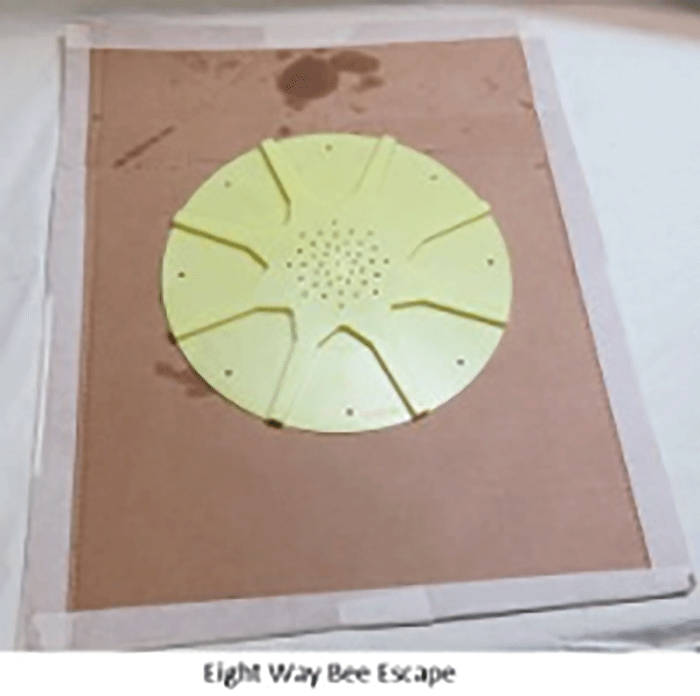
The eight way or five way bee escape are similar except for the number of exits. I have an eight way bee escape pictured sitting on a piece of cardboard the size of an inner cover to give you an idea of what it would look like. The sides of the rim should be at least ¾” below the center board.
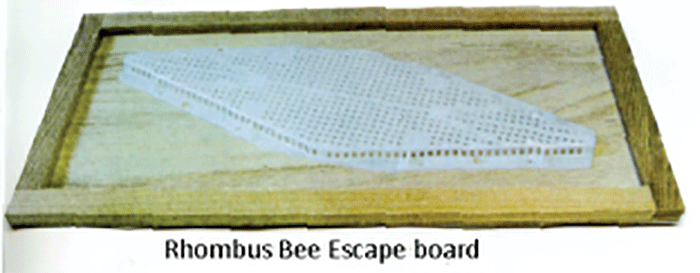
The Rhombus or polygon bee escape fastens to an inner cover with a center hole. The Rhombus has two escape ports and lots of communication holes.
The S shaped – two bee escape system has two entrance holes and two escape ports. It maximizes the use of 1/8 hardware cloth by using a narrow strip.
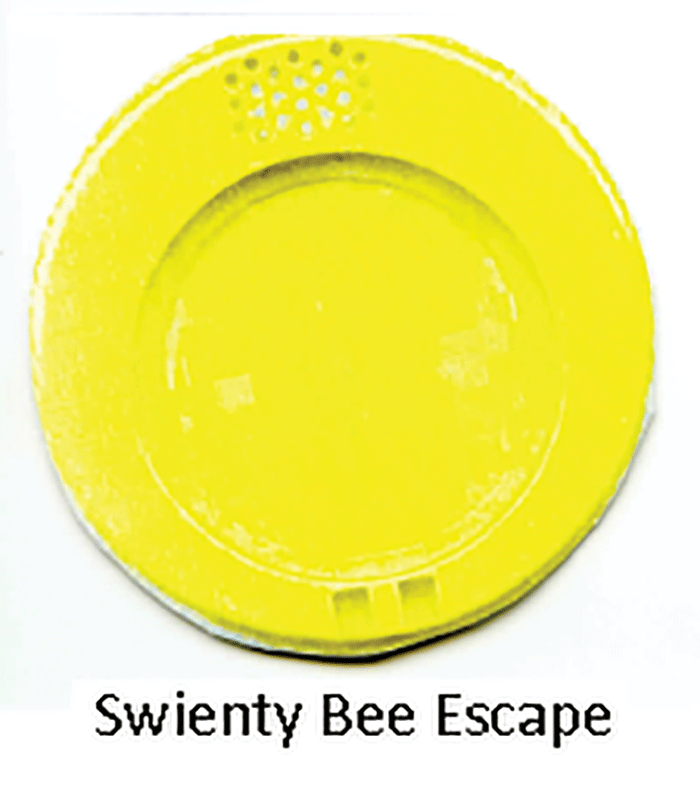
The Swiently bee escape board system also uses a board that usually holds two circular traps. The bees enter the trap on the other side above the communication holes and travel either left or right around the circle until they get to the exit holes. There is a plastic division between the exit holes.
The Porter Bee Escape was quite an invention after all it also had the funnel shaped when you consider the springs. Don’t you wish someone had told you about the modifications that should have been done to make them more useful and efficient?
Jim Thompson is a long time beekeeper and bee equipment historian living in Smithville, OH and contributing regularly to Bee Culture.