


By: Jim Thompson
There are several ways that beekeepers install packages of bees into their hives. Some hives will have an entrance ramp and the bees are shook on the ramp and march into the hive. I used to like shaking the bees into a three frame open space in the first super and then replace the frames. However when one opens a package and starts shaking bees there can be a hazard of flying bees that a person may be unaccustomed. Sometimes package bees arrive when the weather is cold or rainy and you would prefer to have them walk from the package onto the frames within the hive. I helped another beekeeper install 60 packages that were in close proximity to each other and we didn’t want the bees flying around the other hives.
The hive should be placed on your property exactly where you want it to be located. If you make a mistake and decide to relocate it from a front yard to the backyard, the bees will have their homing instincts set for the front yard. Thus you should have a secondary site approximately two miles away. The permanent hive should be raised about 16 inches off the ground to discourage skunks from eating bees. Hive stands made of metal should not be used as there can be electrical storms and kindling can be made quickly from hive parts.
The method described requires more equipment initially, but there are very few airborne bees and the transfer can be done in horrible weather. Some people have even started the bees in their hives in a garage or barn and then moved them to the outside location when the weather improved. The key is to have plenty of inside hive space and all the entrances blocked off and plenty of feed.
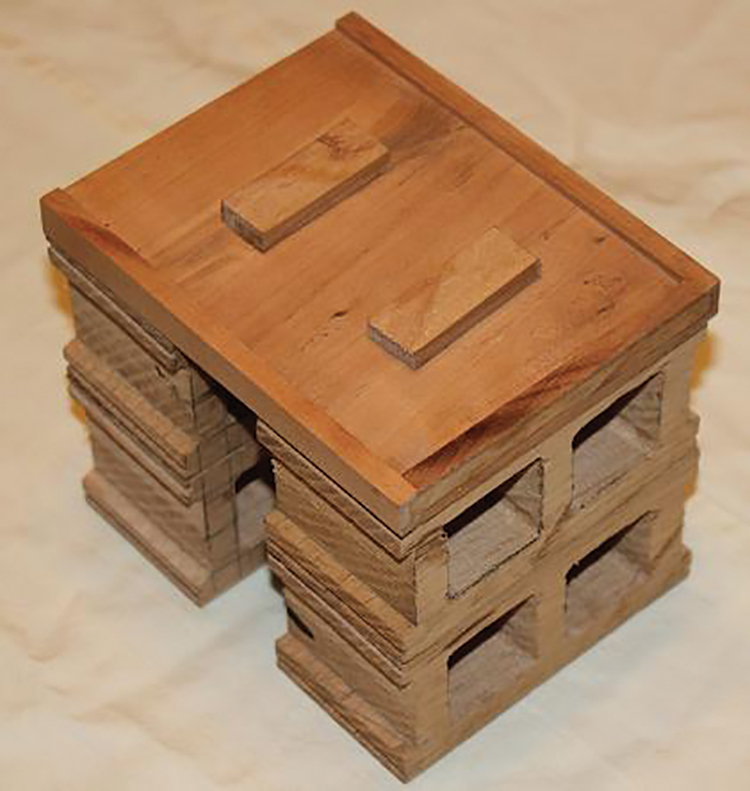
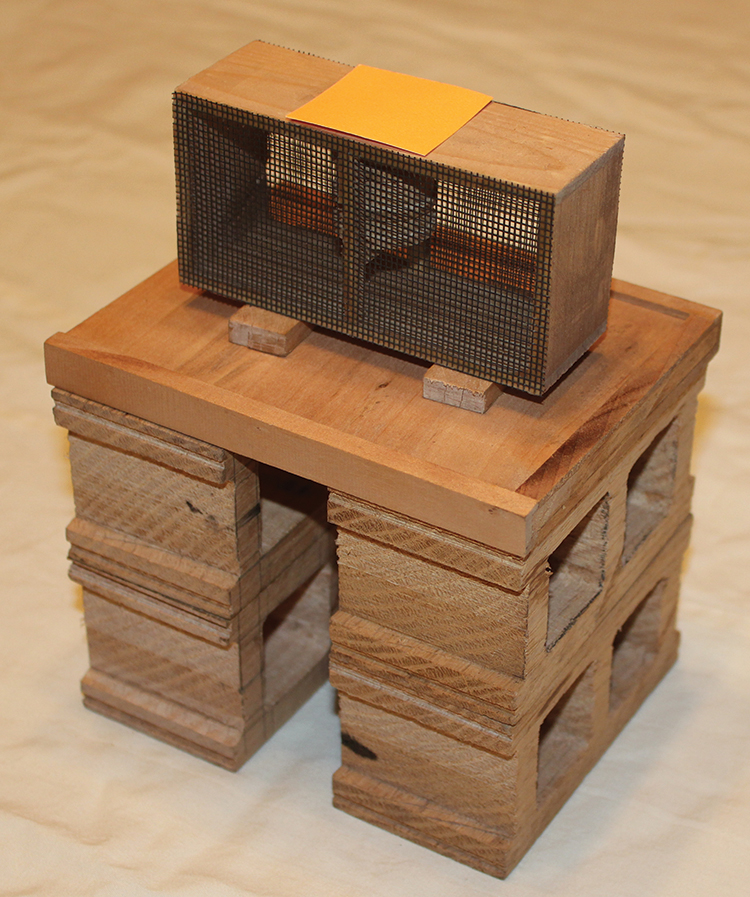
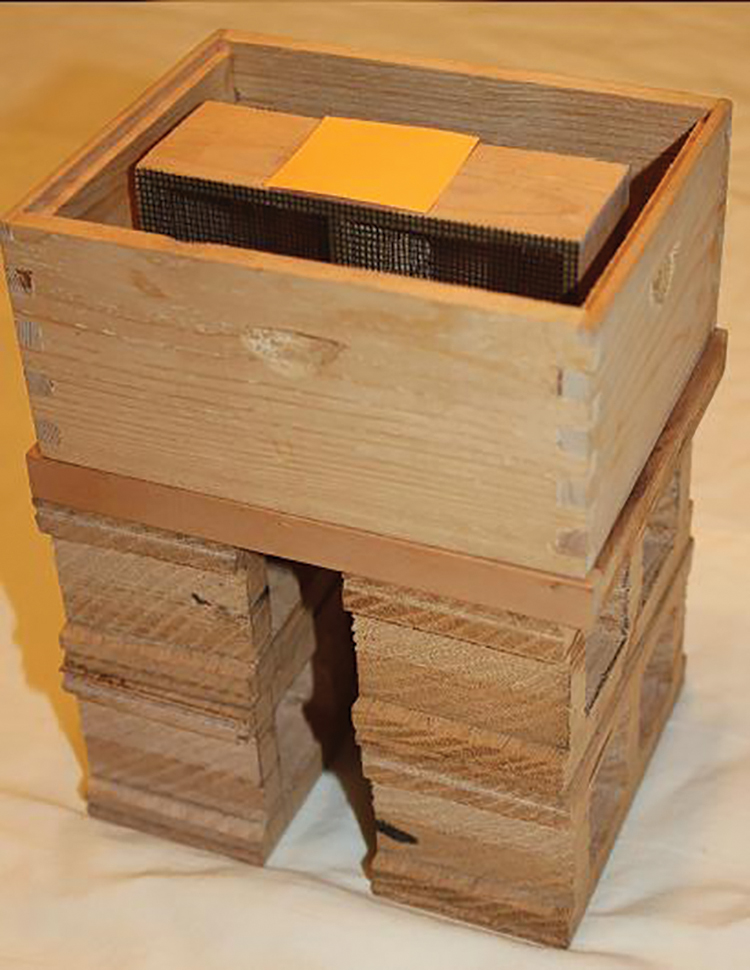
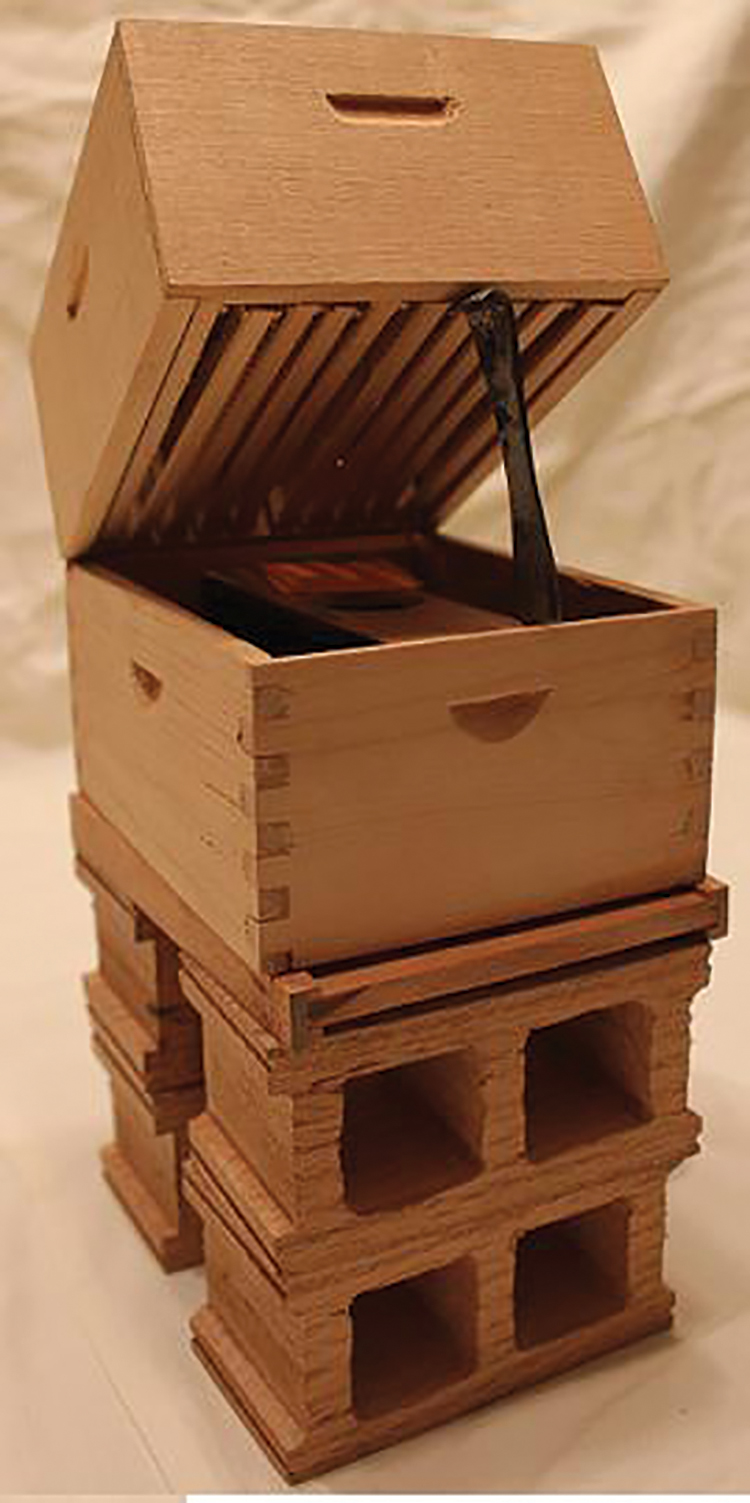
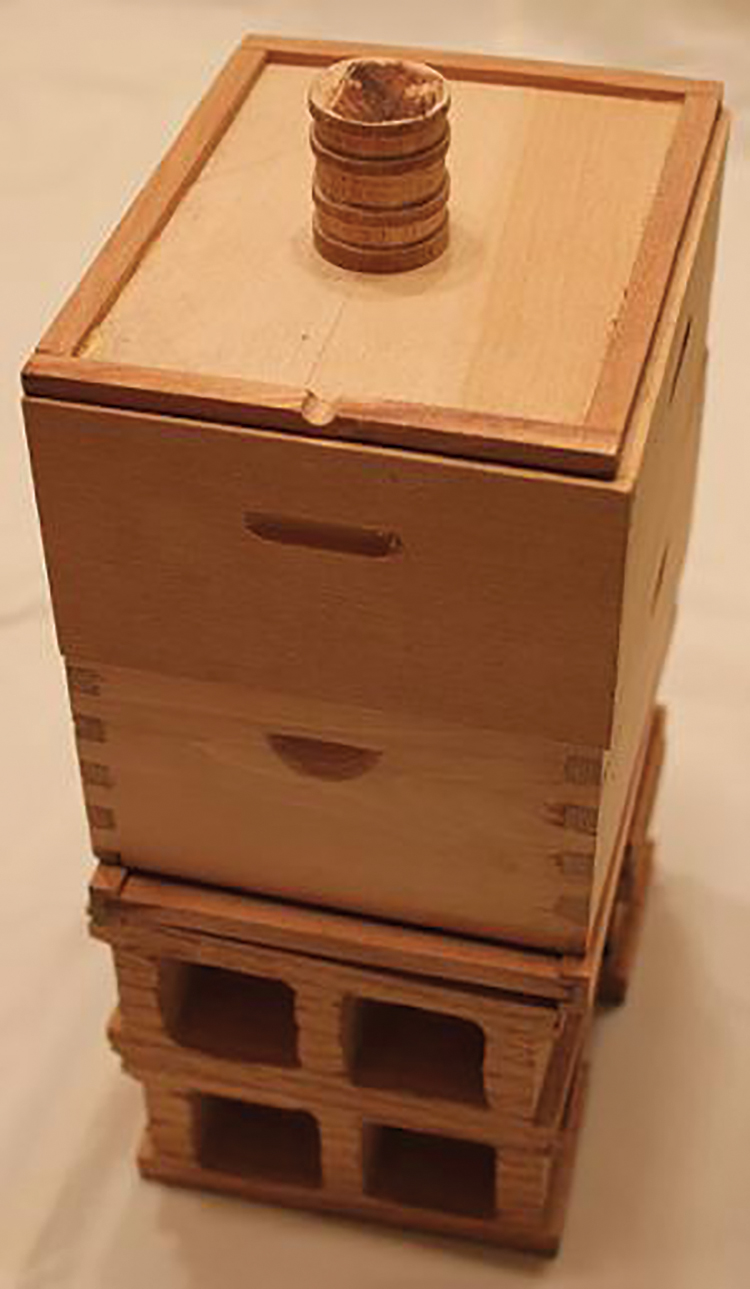
I like to set the hive on four 8” concrete blocks flat side down. I have two blocks in front and two in back. Make sure that the entrance is placed in the direction that you want the bees to fly. Usually east is selected as the cold winds usually come from of the west and north. If you have wind breaks any direction is okay. Put the bottom board on the blocks and an empty deep super on it. You will notice that when you put a package on the bottom board that the top of the package is recessed from the top of the super. You will need to put about 1½” of wood under the package to make it almost flush with the top of the super. If the bees have been in the package for several days, spray the sides of the package with sugar water to feed the bees. Remove the cover of the package and quickly rap the package on the ground. When the bees fall away from the center, quickly remove the feed can and the queen in her cage and place the package cover back over the existing hole. Place the package on the wood shims in the bottom super. Take another super with frames and place the queen in her cage between the frames over the hole.
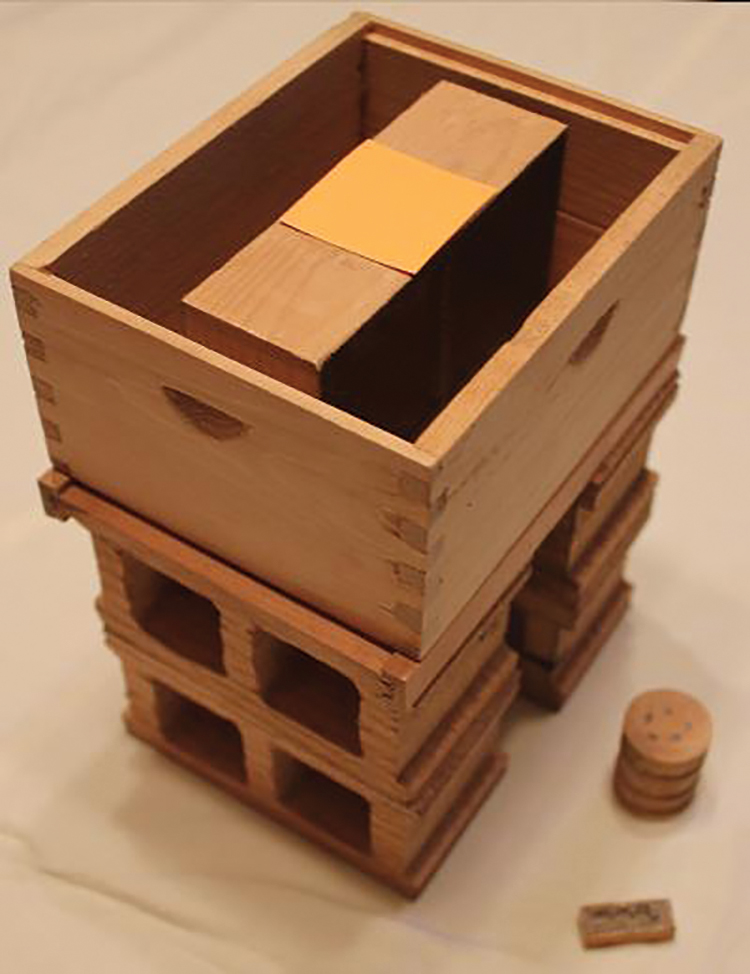
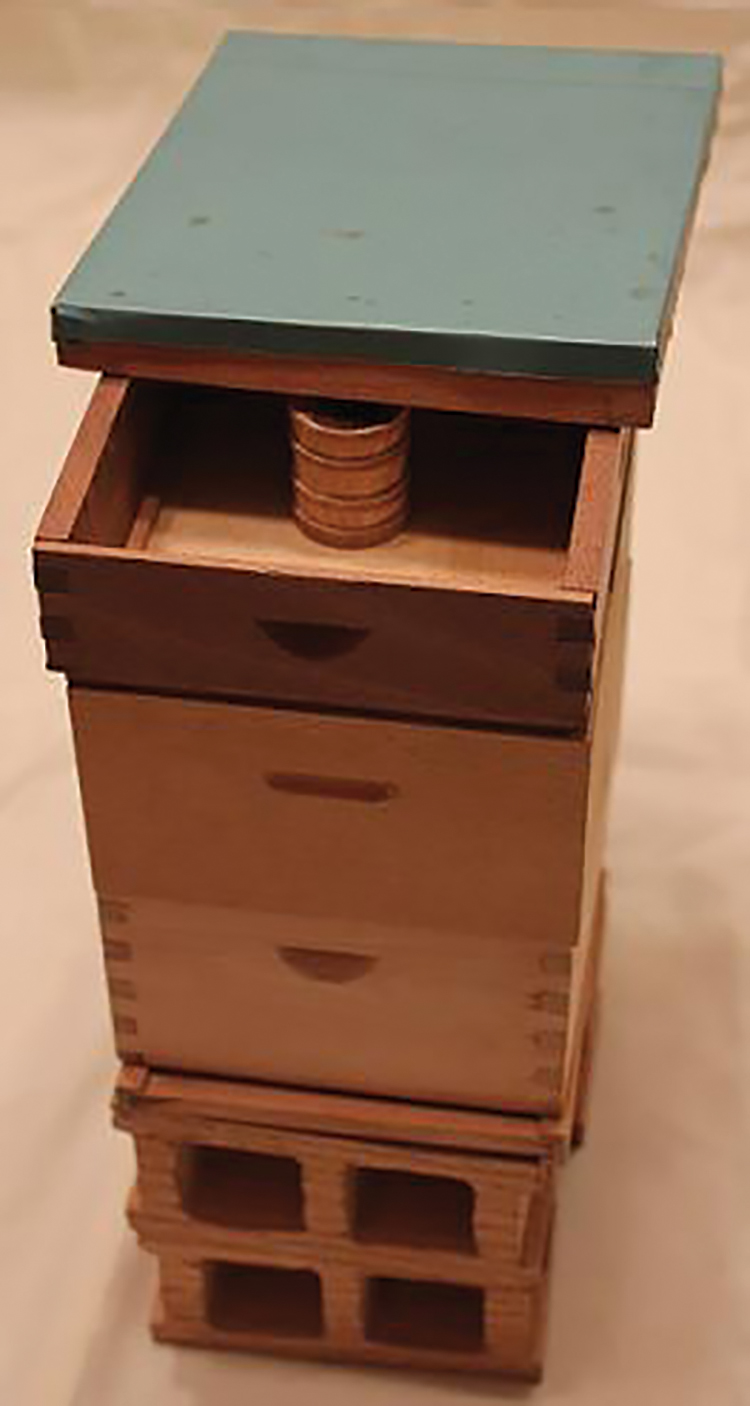
It is more beneficial if you have drawn combs for the queen to lay eggs in and two or three frames of honey for feed. If you have one or two hives you may want to keep the queen cage cork in place for three days. If you have many hives, you should remove the cork from the candy end while you put in the cages. Lower the second super over the package and with a stick, brush the cover off the package into the empty super and lower the second hive. If you accomplish this in a garage or barn, you may want an entrance screen to be in place to keep the bees in the hive. The inner cover is placed on top of the second super and the full feed can or other feeder is placed over the inner cover hole. The feeder is protected by a third super and the telescoping cover. If you are feeding clean honey frames (honey without foulbrood spores), you may eliminate the third super.
When you purchase a package of bees the bees in the package were shaken from one hive and the queen in the cage was raised in a miniature hive elsewhere. The bees are unaccustomed to the new queen. The bees need time to realize that their old queen is no longer with them. A matter of three or four days seems to be about the right amount of time but it may be more. Some beekeepers will remove the cork from the candy end of the queen cage and let the bees release the queen. Other beekeepers open the hive after three or four days and release the queen by removing the plain cork end of the queen cage. Remember to keep your hands over the cage to force the queen to walk out and down into the hive. If you don’t cover the airborne route, she might fly away.
After three days you need to remove the bottom super shell, empty package, and wood shims. Then place the second super on the bottom board. This is also a good time to remove the queen cage and check to see if she has been released. If she is still in the cage, release her and close up the hive. Continue to feed sugar syrup to the hive.
In four days go into the hive again to check if the queen is laying eggs. The eggs will appear as miniature grains of rice in the cells. If you don’t have drawn comb you won’t have eggs so you will have to continue to feed the colony and check again in a week. You need to be convinced that the queen is laying eggs.
The next inspection will be to reverse and rotate frames to assure that every frame is being used before you add the “second” super. Some beekeepers will tell you to feed the bees until they have completed the first super while others will encourage you to feed until the second super is full. Either thought is okay remembering that there are several ways of doing things. When you talk to many beekeepers you will see some of these methods, so you need to develop your own system. The best way to feed the colony is by the use of a top feeder with plenty of bee access.
If supers are added too soon to a hive the bees will use the center frames and avoid the outside frames. To eliminate this towering effect the frames needed to be manipulated. When it is right to add the next super, the bees will add specks of white wax indiscriminately around the super. When you see the “whiting of the combs” add the next super.
Some bee supply companies push the idea of using plastic foundation. Bees do not like the plastic foundation as well as the natural wax foundation. If you choose to add a super to the bees with both types of foundation, you will find that the bees will make the beeswax foundation extra wide. Therefore you should try not to mix types of foundation within a super. Once the frames have been drawn out you can do all kinds of mixing. To get the bees to work the plastic foundation quicker, spray the foundation with sugar water when inserting into the hive. You can also paint a thin coat of beeswax on the plastic foundation using a sponge paint brush.
Hold off trying to medicate the bees for mites and beetles until you are sure that the bees are the progeny of the new queen. It seems that the chemicals used for pests may interfere with the pheromone levels. As a safety precaution, remember that no insecticides should be used in the hive when the honey supers are in use. This precaution is to keep chemicals out of the honey.
Jim Thompson collects everything bees and stores them everywhere inside in his home in Smithville, Ohio.

