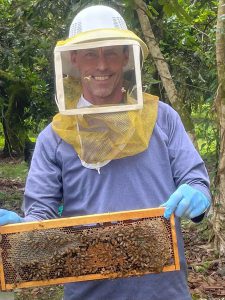
by Jerry Bromenshenk
Inspecting the Hive
Have you ever wished that you could check your bees without having to suit up, get the smoker going, and dismantle each hive for inspection? How about in the winter, when it’s too cold to inspect bees without chilling the cluster? Or maybe, you want to remove a bee colony from a wall or ceiling, but don’t know where it is or how big it is?
Television shows and movies portray spying on people behind walls. That’s a microwave technology, expensive, not readily available, and not yet adapted to looking at beehives. Infrared imaging, on the other hand, has been used to image bee colonies, although it is not true through the wall imaging.
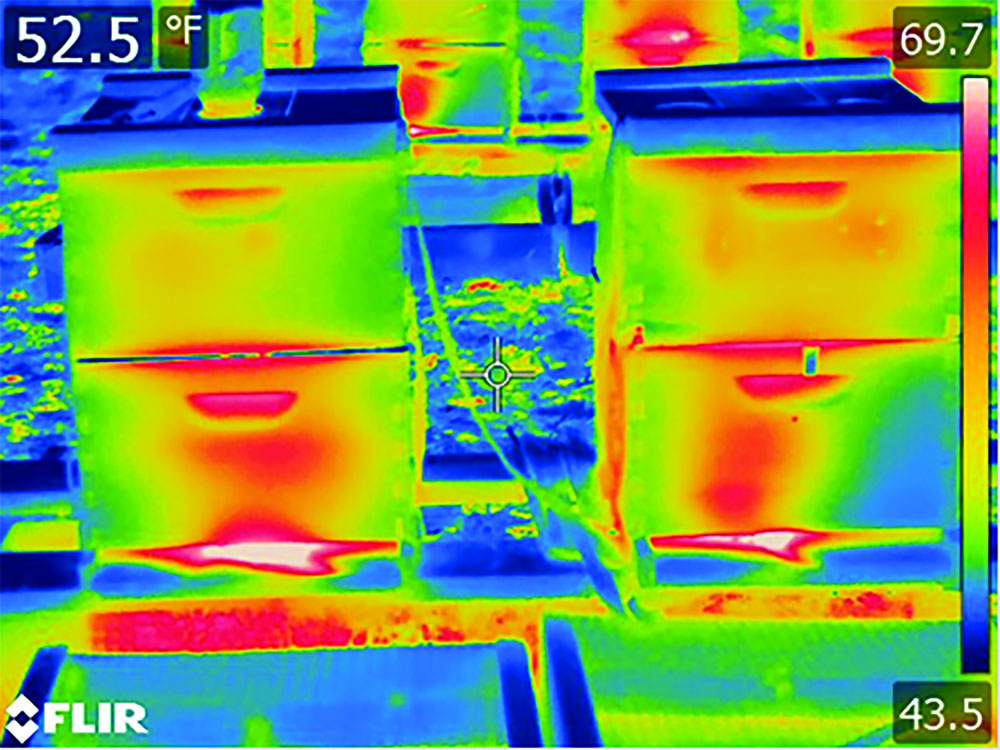
Objects, including living organisms, emit energy as electromagnetic radiation (heat) and light. The full range of wavelengths, extending from gamma rays to long radio waves, is referred to as the electromagnetic spectrum. Colors that we see are only a very small part of the light spectrum. We can’t see the IR light from a television remote, and we feel infrared radiation from heat lamps and electric heaters. IR or thermal cameras image the surface heat emitted and reflected by objects.
First developed and used by the military in Korea, thermal cameras were used to find things like a tank covered by a camouflage net. The net makes the weapon invisible to most people, unless you are color blind like my father. Since his visual perception of the world was different, this masking failed to fool him; although he couldn’t see cherries on a tree except when the round shape was highlighted against the sky.
In the same way that heat from a tank can be easily imaged by an IR camera, the heat of the cluster of bees in a beehive that is radiated from the outside surface of a beehive can be imaged by an IR camera. It’s not truly through the wall imaging, but if the cluster is reasonably strong, it’s heat signature can be readily seen and sized. Properly used, an IR camera will almost always detect a strong cluster, but it may miss a weak or small cluster, particularly if the cluster inside the hive is far from the hive surface at which the camera is aimed. Also, frames full of honey retain heat, so a full frame or two on the outside of the cluster may mask the cluster from that vantage point.
A colony cluster has a distinctive shape and heat gradient, with the hottest part in the center core. A queenless colony usually yields a diffuse heat pattern, since the bees aren’t clustering tightly, if there is little or no brood. Side views can be misleading, especially if there are full frames of honey next to the wall of the box. The best imaging position is from directly in front or behind a hive and down from the top, if there aren’t honey supers above the brood nest. Since honey retains heat and reflected sunlight masks emitted heat from inside the hive, the best time of day to use an IR camera is early morning, when night time ambient air temperatures are lowest and clustering tightest.
Why IR and Why Now?
We started testing IR cameras for hive inspections for the U.S. army about a decade ago. Our objective was to allow a soldier to quickly determine whether colonies used for surveillance and search purposes were adequately strong and healthy. The first camera that we used was a custom-built, research grade instrument, built by our colleagues at Montana State University at a cost of tens of thousands of dollars.
In 2011, we published our findings and tips for use. At the time, the only thing about IR cameras that was readily available to most beekeepers was the article itself. Some contractors were using hand-held IR cameras for energy audits, a few plumbers and electricians were using them, and law and fire departments had begun to purchase and use them. But the price was just too high to be cost effective for beekeepers.
I purchased my first, low-cost, thermal camera for about $4,000. Then in 2013 the IR camera market rapidly shifted from military applications to other sales, with a 23% non-military sales increase projected by 2018. By October 2014, entry level cameras were being sold at retail prices of $1,000 or less, and in 2015, the price barriers dropped to $400-700, with at least one camera currently available for $150. At the same time, off-the-shelf availability, ruggedness, image quality, and camera options increased dramatically. Prices have dropped precipitously and overall camera features and quality have dramatically increased; much like we’ve seen with laptop computers.
Pitfalls
First, and most importantly, buying an IR camera does not automatically make you a thermographer. You need to learn how to use the camera, and never forget, it only measures heat at the surface of the beehive. Factors like distance from the hive, wind, rain, snow affect accuracy. Also, the material composition, wood versus plastic or foam, the thickness of the hive wall, and the color of the hive will alter camera temperature readings. Higher end cameras provide adjustments to compensate; lower end point and shoot cameras normally don’t.
Second, if you buy your camera from a reputable IR camera distributor for companies such as FLIR or Fluke, their technical staff should know their product line well, but do not expect them to know anything about applying this technology to bees and beehives.
Also, be careful of “new to the market” visible thermometers. If it’s surprisingly low cost and is referred to as a dual-spot, imaging, or visual thermometer, it probably will not work for your purposes. Many of these entry level visual thermometers only measure temperatures on two or more points, then generate a picture that approximates the temperature gradient on the surface. Prices for these visual thermometers range from about $130-400; but this technology is not going to do the job you need.
Selecting A Camera
Over the next few months, I intend to review cameras from simple point and shoot to full featured auto-focus cameras with interchangeable lenses. I’ll also provide detailed instructions for use. If you must have a camera right now, I recommend renting. You can rent by the day or week from online sources, some contractor equipment suppliers, and in some locations, even box stores like Home Depot. Before you buy or rent, I highly recommend that you contact me for guidance at beeresearch@aol.com.
In choosing a camera appropriate for your use, the major considerations are thermal resolution and sensitivity. Digital thermal cameras tend to have low resolution compared to visible digital color cameras. Low end thermal cameras have about 4,800 pixels. Each of these pixels should provide a calibrated temperature data point. For imaging beehives, 4,800 data points may be a bit marginal. The next step up are cameras with 19,200 – 19,600 pixels. Better cameras have 76,800 pixels – that’s a lot of temperature data points in an image, maybe more than you need. The more pixels the finer the thermal detail and the easier it is for a human eye to detect subtle changes like evidenced by a queenless colony. Top-end, hand-held, IR cameras bump up the resolution to more than 700,000 pixels; at a hefty price. As per sensitivity, virtually all cameras other than the least expensive should be adequate for imaging beehives. The combination of higher resolutions and sensitivities will improve accuracy at greater distances. Low resolution cameras are only accurate when close, within a few feet of the colony being imaged.
If you really want to buy an entry level IR camera, there are four low cost options:
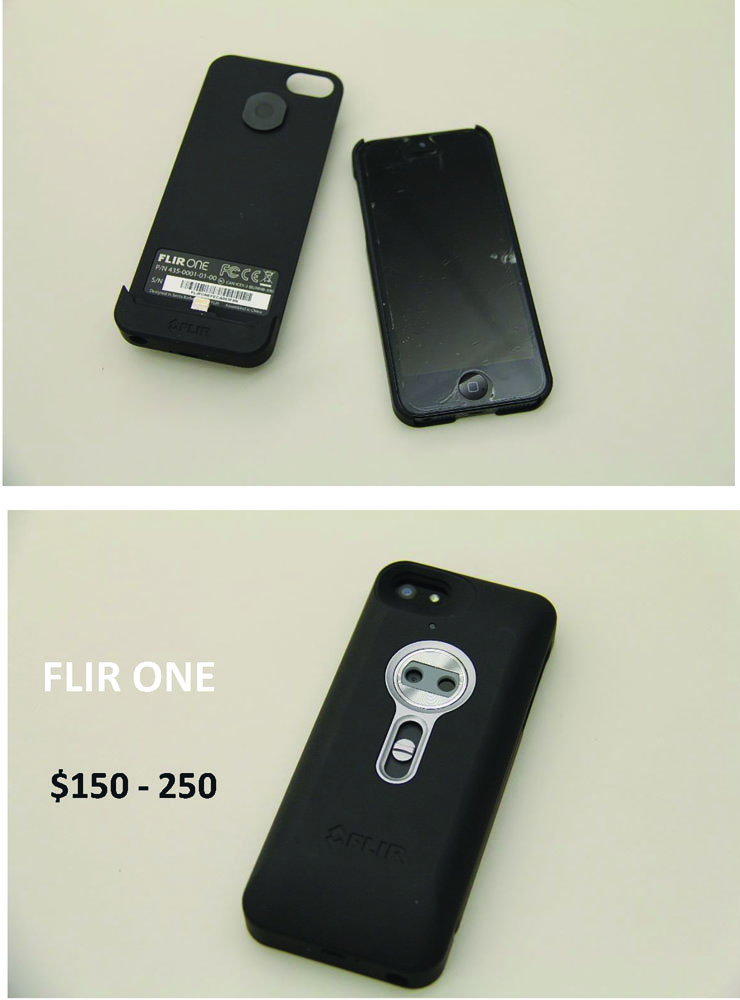
1) the original FLIR ONE that snaps onto the back of an i5 iPhone (and only the i5 models)
2) the newer FLIR ONE camera dongles that plug into the Lightning and microUSB port of a iOS or android phone or tablet
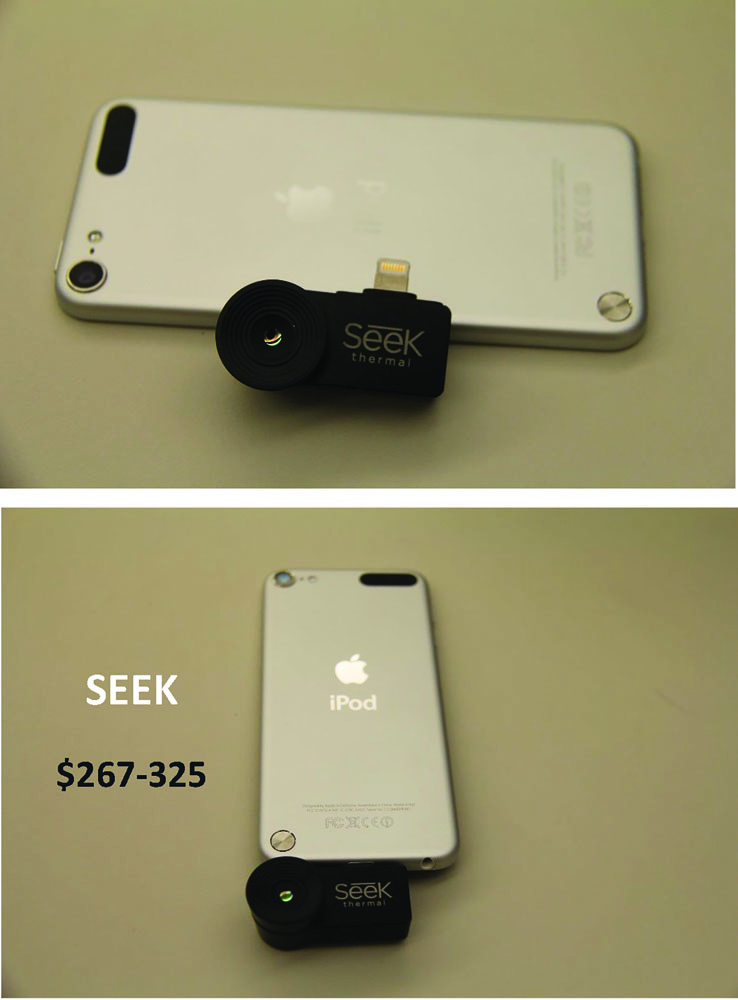
3) the competing IR plug-in camera from SEEK
4) the FLIR C2 point-n-shoot camera.
The first three options keep overall costs low by using the digital camera in a phone or tablet to increase detail, but these phone-based IR add-ons rapidly consume batteries (I get less than an hour), and the small plug-in camera dongle is likely to be quickly lost or broken. The current bargain is the first generation FLIR ONE for $150 while online supplies last, but it only fits the i5 series iPhone. The snap on camera makes for a sleek camera combination.
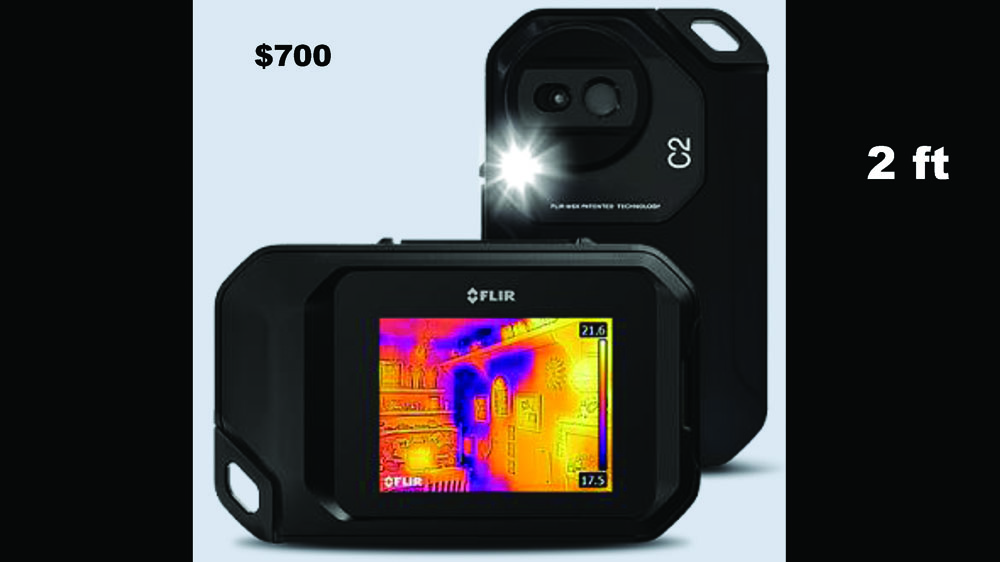
I’m impressed by the FLIR C2. This pocket-sized, entry level, point-n-shoot camera is ruggedized, with a hole for a lanyard in one corner. Thread a strong cord through it, put the cord around your neck, and the camera in your shirt pocket. This is a dedicated camera aimed at construction workers who need to spot things in the infrared but don’t necessarily have thousands of dollars to spend. At $699, it is more expensive than the $250-300 second generation FLIR ONE or SEEK XR which also require a camera or tablet. The C2 has its own built-in visible camera. SEEK has just released a similar camera that looks like a small GPS, but I haven’t had a chance to test it.
Finally, if you must have a camera immediately, purchase a visible/IR camera combination; now standard across the entire FLIR line and also available in some other brands. Aim a thermal (IR) camera at a sheet of paper, you’ll only see a blank heat image. Add a visible camera to the IR camera, and you’ll be able to read printing superimposed on the heat image. That’s useful for reading hive identification labels. Dual visible/IR cameras usually allow you to overlay visible and thermal pictures to outline things, and store both images as separate pictures, one visible, and one IR for reference.
In following articles, I’ll cover what IR cameras can be used for, more on how to use them, and review specific cameras by cost and brand, covering and comparing what can be a bewildering choice of features.
•Shaw, J.A.; Nugent, P.W.; Johnson, J.; Bromenshenk, J.J.; Henderson, C.B.; Debnam, S. Long-wave infrared imaging for non-invasive beehive population assessment. Opt. Express 2011. 19, 399-408.
•Yole Development. The faster shift toward commercial applications is due to military budget cuts and growing commercial markets. Uncooled infrared imaging technology and market trends report. September, 2013.


