7 Rules For Queen Buyers To Remember
 By: Larry Connor

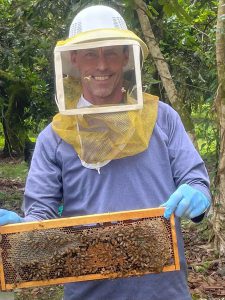
Thank you for buying a queen from our small queen-rearing operation. We appreciate your support and loyalty. Over the past few years we have purchased scientifically selected, instrumentally inseminated breeder queens that possess genetically controlled traits for mite tolerance. We have also sought out local breeder colonies that have survived our strong and long local winters and produced large honey crops. We have attempted to improve our local drone population by producing abundant daughter queens that carry these and other desirable traits. Unfortunately, a few swarms have issued from our colonies, but this also has a positive benefit on the drone population for several miles in all directions.
Please take a few moments to review this page to understand the importance of properly caring for your queens both before you put the queen into a colony and after the queen has been introduced into a hive of bees.
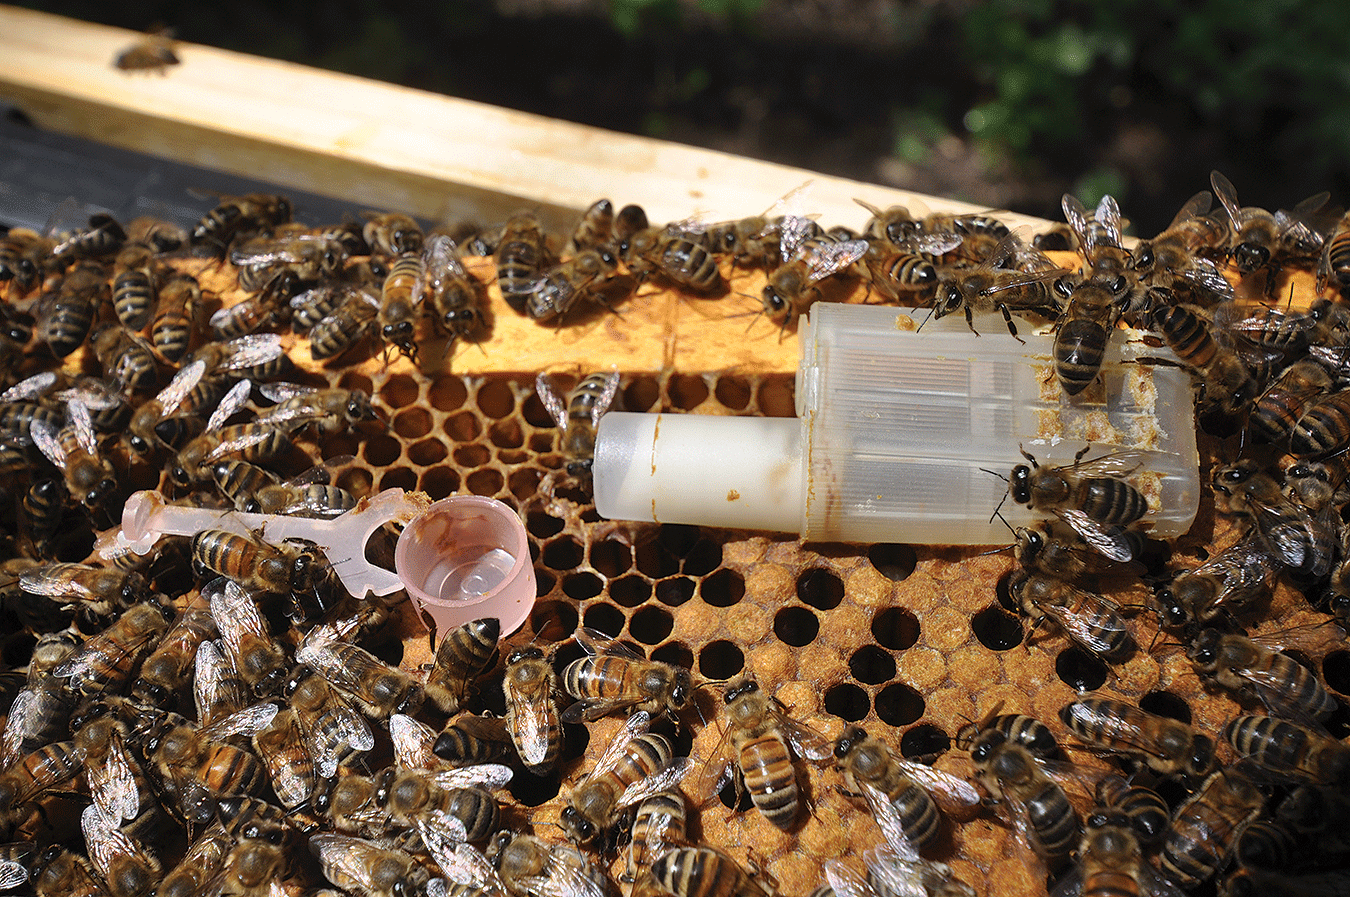
The plastic Jz’s-Bz’s queen cage may be used for both shipping and introduction. Place the queen between two frames of brood with the plastic cap on the tip of the candy release. Return on the their day and the queen will be introduced to the bees, her pheromone spread throughout the hive and an bees familiar with her odor. Note how the bees have added propels to her cage.
#1: Remember, Your Queen is a Living Animal
Think of your queen bees as a pet dog, cat or chicken. Protect them in transit and while introducing them into a new home. Queen bees of all ages (virgin, newly mated or several years old) require frequent contact with worker bees and must receive food and water. Your queen should have worker bees either in the cage with her or surrounding her in a packaging container designed for queen shipment. Small queen shipments usually contain worker bees (which are carefully removed from the brood frames while taking a drink of honey from cells on the brood frame).
Queens also need water during transit. This may be a drop of water put directly on the queen cage, or water obtained from the worker bees attending her. This will prevent her dehydration, a common cause of queen death during shipment and introduction. When the temperature is above 75°F, dehydration can occur in a matter of an hour when queens are put into exposed locations.
While sealed queen cells do not require feeding, they benefit from a stable environment with uniform temperature. Either carry sealed queen cells in an incubator or with worker bees stabilize cell temperatures.
#2: Never Let Your Queen to Become Overheated or Chilled
It is very easy to overheat and dehydrate a queen in an auto or truck cab. Do not leave the queen in the sun or inside the cab when you go into a restaurant, even for a few minutes. Avoid letting the queen dehydrate and overheat.
If the weather is cold (less than 50°F), put the queen cages into a pocket of your coat or jacket while you run errands or check bees. Don’t leave the cages on the top of the next hive for more than 8 seconds (yes, I just made that up, but I think it makes my point).
If you plan to carry queens around all day, perhaps while you visit several bee yards, make up a queen bank consisting of a frame of brood and nurse bees. Put this into a nucleus box (screened so they cannot fly out in the car or truck). Add a second frame containing some honey and more bees. Put the queens in a queen-holding frame that is positioned between the two frames. The bees do the best job of keeping the queens alive through feeding and hydration.
If you have less than a dozen queens, make up a box to carry queens with a tight fitting lid, like a cigar box. Put an activated hand warmer or two in the bottom of the box and cover it with a small dishtowel. Put the queens in their cages on top of the towel. Or leave out the hand warmers and shake a few hundred worker bees into the box. Put a sponge filled with sugar syrup for the bees to feed and hydrate. I’ve kept queens like this for several days when the weather is warm, and I always have a safe place for my queens as I work colonies.
#3: Check the Queen Candy
When we put queen candy in the shipping cage (the white material), we take care that it is not too moist. Unfortunately, queen candy takes up moisture, and the surface may become too liquid and the queen may become stuck to the candy. If this should happen, immediately remove the queen and put her into a cage with dry queen sugar or with no sugar mixture at all. Add young nurse bees and allow them to clean her body of all sugar residue before introduction of the queen into a colony.
#4: Colonies Set Up To Accept Queens
NEVER introduce queens into a colony that has another laying queen, might have another laying queen or has laying worker bees producing eggs. The workers most certainly will kill your new queen and we cannot replace queens abused in this manner. If you have any question about the queen-status of a colony, it is better to wait and see what the colony does (by producing a new laying queen as evidenced by brood), or by taking steps to stimulate the laying worker bees from producing eggs and conflicting pheromone signals.
Just because you have inspected a colony and did not see a queen does not mean the colony is queenless. New queens – virgin queens – are smaller than laying queens and are harder to see. They also seem to hide under worker bees as they search the comb looking for sister queen cells and queens to destroy. This behavior makes them very difficult to find a queen in even a colony of moderate strength. Keep in mind that you may have inspected the colony when the queen is making an orientation, cleansing and mating flight.
With the growing use of darker-race queens, it is difficult to see the queens against dark combs. Mark these queens for easier queen finding in the future.
During normal queen replacement, the bees will start to polish cells just before a new queen will start to lay eggs. Areas of the comb that had previously been filled with pollen and honey will be empty and the bottoms of the cells shiny, ready for the queen.
#5: Timing is Everything
Consult your records against the calendar to see what options the bees may be expressing in queen rearing. Remember it takes 16 days for a queen to complete her metamorphosis from egg to larvae, but if a colony already has brood in production, the bees will select larvae one to three days of age (after the egg hatches) to use to raise a queen. That means that that colony has suddenly lost a queen, perhaps by a beekeeper error, and the queen will require between 10 to 12 days to complete her development into a new young queen.
But don’t forget that the queen must also reach her sexual maturity and mate with drones located about one mile from the hive. I feel that the average time from emergence to egg-laying for a queen is about 12 days, but there can be delays due to cold or stormy weather, and the queen may not mate and start laying eggs until she is 14 to 16 days old.
This means that when you look at a calendar, that you must add these numbers together, allowing the 10 to 12 days for metamorphosis and 14 to 16 days for the queen to reach maturity, mate and begin laying. That means that it will take between 24 and 28 days before you can expect to see eggs. If you have trouble seeing eggs and larvae, you will need to wait up to another nine days before there is sealed brood, putting us at 33 to 37 days after the colony was last worked. (The visually-challenged beekeeper should obtain a magnifying lens and a high-powered LED flashlight to see the eggs and newly hatched larvae at the bottom of the cells).
All this shows how easy it is for a queen-right colony to be examined by an inexperienced beekeeper who rules the hive queenless and introduces a new queen, only to have her lost or killed by the queen in development.
Here is a chart of time requirements for various hive functions regarding queen production in European bee stocks. African stocks develop faster, a fact that should be kept in mind wherever Africanized honey bees are found, such as Florida, Texas, Arizona, New Mexico and parts of California.

#6: Very Common Problems
Queen Failure in Package Bees – Because the queen placed into a package of bees is not the mother of the bees in the package, there is a strong sense of queen replacement by these new colonies. Nucleus colonies, on the other hand, usually have had the queen in place for three to five weeks before they are delivered to the customer, and the bees and workers are better adjusted to each other.
Package bees frequently experience queen introduction failure. This is when the worker bees never accept the new queen, and the colony is hopelessly queenless. Many queen shippers send additional queens with package bee shipments to cover such losses, but most new beekeepers don’t know enough to recognize that there is no queen in the hive (they are still trying to tell sealed brood from sealed honey). If the beekeeper has access to sealed brood, she should obtain a frame of brood (one with a mixture of ages of bees, but ideally with an area of eggs and small larvae so the bees in the package can start to raise their own queen). If this is not possible, combine the bees in the queenless package with a queen-right colony, perhaps another package with a well-laying and accepted queen, so the worker bees are not lost.
Early Queen Failure in Package Colonies – Too often, the package queen starts to lay eggs but stops, or is killed and replaced by the worker bees within a month or so of the package introduction. If there are queen cells in production in such a hive, the bees will eventually have about a 75% chance of producing a new queen, and the package colony is saved. This is when the introduction of a mated and laying queen is ideal for the benefit and overall outcome of the colony. The time needed to get a new queen laying is shortened by many weeks.

Plastic and metal queen introduction cages (also called push-in cages) allow the beekeeper to put a queen over an area of emerging brood (or with nurse bees) and stimulate food exchange during introduction.
#7: Best Queen Introduction Methods
We have very good luck placing a queen into a colony confined in the shipping cage with a plastic cap or cork firmly in place, preventing the queen’s release. We leave the queen like this for three or more days and then return to remove the cap or cork, and let the bees consume the candy to liberate the queen. The three days allow the queen to produce her odor – her pheromones – and provides a time for the queen to be fed by the worker bees. If there is something wrong with the queen, and the beekeeper returns after three days and finds her dead in the cage, then the beekeeper knows that something must be done, rather than wasting days and weeks trying to determine if there is a queen present or not. When it comes to bee management, knowing bad news almost always wins over not knowing anything.
We have used push-in cages for queen introduction and will use them when there is a valuable queen to be introduced. The key is either place the cage and queen over emerging worker brood or add worker bees to the cage prior to the introduction.
Queen liberation in less than three days often leads to early queen death. New queens will be suffocated by balling (hundreds of workers pile on her body and overheat her until she dies), or she may be stung. Like a change in human politics, a new queen is in a delicate position until she is able to prove herself as an egg-laying, pheromone-producing machine worthy of her subjects’ trust and support.
I hope this helps you understand some of the challenges of introducing a new queen into a colony and just how complicated queen rearing can be.
Dr. Connor has been invited to the College of Lake County (Grayslake IL) on Saturday September 10th. On October 13-16, he has been invited to the British Columbia Beekeepers Association Conference being held in the Metro Vancouver area. Bring your copies of Dr. Connor’s books, and he will be glad to autograph them.