By: Ed Simon
It was time to put a little pizazz into our sales display that we use for flea markets and other events.
Until now we have been using a six-foot folding table with a cloth draped over it. It worked fine and provided plenty of display space and a place underneath for extra supplies and a cash box.
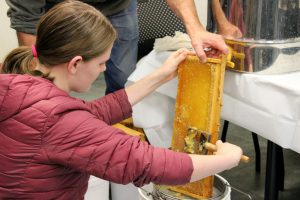
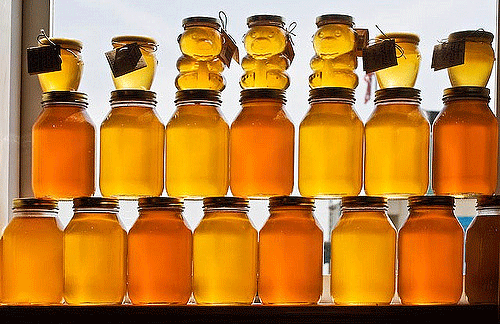
However, we usually provide honey tasting for our liquid honey and our cinnamon creamed honey. Unfortunately, all it takes is a little three-year old boy shaking the tasting spoon to make everything sticky. We needed an easier way to move to the front of the display to provide the tasting and to talk to customers without a table between us. We still intend to provide a table in the back of the booth with all our items on display.
The result is a stylized bee hive with easy access and plenty of display area.
Note: We found that if we could get a family to stop to either look at the bees in our observation hive or to take a taste of honey, we could usually sell them some product about 60% of the time.
Requirements:
- Easy movement from the back of the display to the front
- Fit within the 10’ front of our display area
- Flexible sizing for larger or smaller display areas
- Easy to transport and setup
- Storage area
- Stable but still be able to separate sections to tailor it for the current event
Parts
- Deep hive bodies (3)
- Medium hive bodies (1)
- Queen excluders – wood bound (2)
- Telescoping cover (1)
- Inner cover (1)
- Interlocking braces – top (12)
- Interlocking braces – bottom (8)
- Telescoping cover spacers (4)
- Led lights – battery operated
- #6 x 2” bolts
- Locking hex nuts to match the bolts
- Washers
- Telescoping cover spacers ¾” thick (4)
The materials listed provide for one 39¼” high display with three deep hive bodies to hold the merchandise.
 Construction
The building of this display was relatively easy. The hive bodies used were constructed the way we have built hundreds of other hive bodies and there was minimal attempt to beautify them. Standard commercial grade hive bodies were used to impart a more “local down-to-earth beekeepers” impression. I did varnish them as opposed to using our standard paint from the recycling center. Only the connections used to keep the boxes together required any woodworking skills.
Step 1: Construct the hive bodies required for the display (parts #1 and #2)
Step 2: Cut the hive body front openings.
Using your saw cut the middle out of the front of the three deep hive bodies (parts #1). Leave about a 2” section on each side of the front. This provides for stability and at the same time will partially hide the LED lights should you choose to illuminate the display case from the side.
Note: Do not cut the front out of the medium hive body (part #2). This hive body is used for the base and provides stability for the entire display.
Note: Depending on the length of the screws, nails or staples you use to assemble the hive body, you may have to change the 2” measurement so you don’t cut into the fasteners.
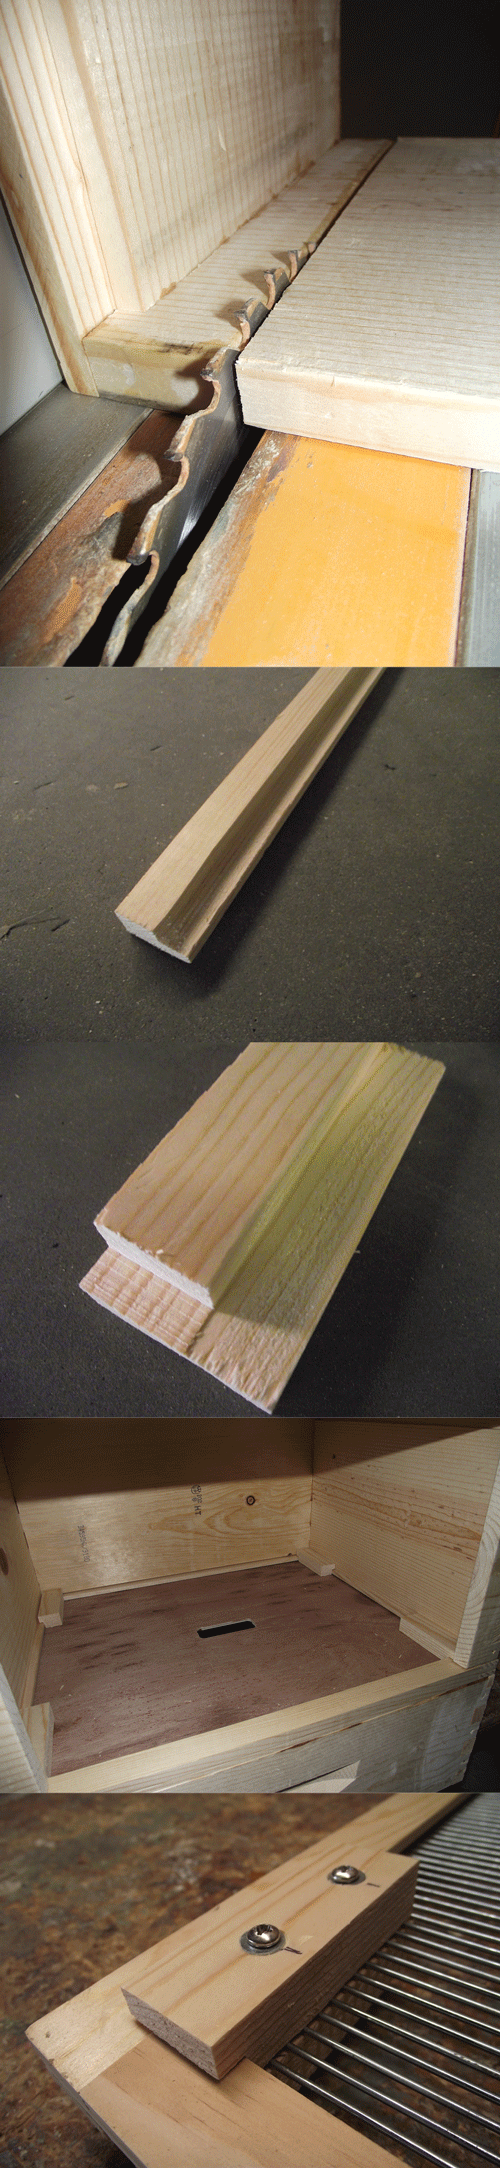
Step 3: Cut the interlocking braces (parts #6 and #7)
Constructing these braces is probably the most tedious step in constructing the display. Since there is a need for 20 pieces for the braces, twelve (parts #6) and eight (parts #7), you can cut them all at the same time. The cut required is a lip ⅜” x ⅝” made on the edge of a board. This is the same lip required for a frame rest in a standard Langstroth hive. Make the cut along an entire edge of an eight-foot board. Next rip a 1 ½” piece off the board that includes the lip (frame rest) you just completed.
Step 4: Separate the interlocking brace pieces
Using the long strip of the board you cut in the previous step, cut it into twenty 3 ½” pieces.
Step 5: Modify the top pieces of the interlocking brace.
Take twelve of the brace pieces you cut in the previous step and remove ⅜” from the lip. This is so the bottom of the brace fits into the hive body frame rest and can be wider; the top of the interlocking brace must fit within the bottom of a hive body which does not have a frame rest. See the accompanying drawings for further clarification
Step 6: Finish cutting the corner lips.
Match a top and a bottom piece of the interlocking brace and cut the corner ¼” lip that matches with the lips already in the braces. Use a queen excluder to position the braces to see where and how these cuts need to be made.
Caution: Be careful, the corner lips are specific to a corner. One half will be on the right of the brace and one half will be on the left of the brace
 Step 7: Construct the base
This is where you find out if you cut the top of the braces correctly.
Layout the four extra top brace parts (parts #6) on the corners of an inner cover. Make sure that another hive body will fit snugly on the inner cover with the braces in the corners. Glue them in place and allow the glue to dry. To give the braces extra strength, turn the inner cover over and staple or nail the inner cover to the top braces. Now glue and nail or staple the inner cover to the top of the medium hive body.
The base is now complete and a hive body (part # 1) should fit on the top of it. The top braces will hold the hive body in place.
Step 8: Drill mounting holes in the remaining interlocking braces
Using a queen excluder, position one lower brace piece with one upper brace piece while matching the corner lips of the interlocking braces for the bolt holes. Try to place the marks for the holes between the metal bars on the excluder. Drill larger than needed for the bolts. This will give you a little wiggle room when positioning the braces. Drill the holes when you are satisfied with their position.
Hint: Try one brace first to make sure everything is correct before committing yourself to the rest of the braces.
Step 9: Mount the interlocking braces on the queen excluders
Using the bolts, nuts and washers mount the braces on the inner covers. The bolt heads should all be on the same side of the queen excluder. This will be the top of the shelf for the display.
Step 10: Cut and mount the telescoping cover spacers.
The drop down sides on the telescoping top restrict the view of the top shelf. To elevate this, glue the four spacers (parts #13) under the top corners to raise it ¾ inches. This allows for a clearer view of the merchandise on the top shelves.
Step 11: Varnish or paint the display.
Step 12: Mount the LED lights
If you want to add lighting to the display mount the lights now. I used some self-contained battery powered LED lights that were available from the hardware store. They had sticky backs and were mounted under the telescoping top.
If you wanted more light some could be mounted on the inside of the deep boxes near the front.
Conclusion
This design allows for the flexible stacking of the hive bodies. All you need to do is add or remove a queen excluder and deep hive body pair to change the height and umber of shelfs available for merchandise.
Get a copy of Ed Simon’s book Bee Equipment Essentials with detailed drawings, construction hints and how-to-use instructions for dozens of beekeeping tools and equipment from www.wicwas.com. Ed can be contacted through SimonEdwin41@gmail.com.