 By Jessica Lougue
Tier II Tunnel Study Basic Design
I’ve written some in the past about the general ins and outs of this type of honey bee research, but I thought some of you might find it interesting to see a little more depth in the types. Tier II for the testing is where the field work really comes in, as everything in Tier I is relatively lab-based, or some lab-to-field translational work. Tunnel studies are fairly common for most chemical testing, and it’s not only for insecticides, but any pesticides that might pose a risk with possible high exposure scenarios. I might be stepping into a little hot water here, but we have attempted to do these with GMO crops and we couldn’t prove a difference in the pollen collected between GMO and non-GMO varieties – as in, there was no way to distinguish which was which. I guess that could be taken two ways; either it’s bad because the GMOs can pass as non-GMOs, or it’s good because there’s literally no difference.
As always, the Tier II studies have general guideline requirements that have to be met. If you are interested, all of the guidelines that we have to follow are available on the EPA website. Good luck finding it, but I promise they are all there. We have an untreated negative control group that gets a water application, a positive control group that gets a label dose of an insecticide that has a similar mode of action as the test substance and we know it has an effect on bees, and then whatever rate or rates of the test substance. Each rate gets its own group. So, in a small study, you would be looking at three treatment groups: Untreated Control, Positive Control, and your Test Substance. Each one gets four replicates to make sure if we have one hive that swarms or is just pre-dispositioned to not be able to deal with tunnel stress, we have three replicates left for statistical stability. What this means overall is that a small tunnel study will have 12 tunnels minimum, with three treatment groups and four replicates per group.
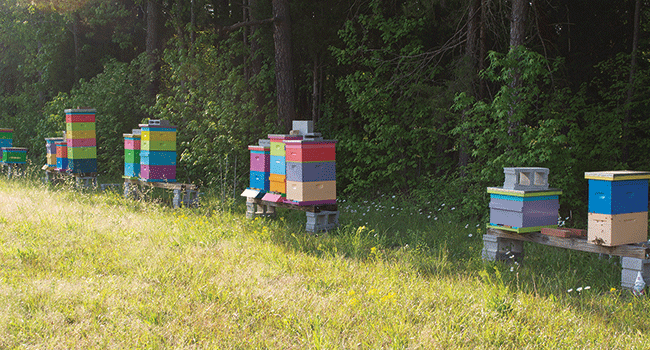
Let’s get into the basic labor part of this study. Each tunnel will be built with the dimensions of 20 feet wide by 200 feet long. It has to be in a field that has little to no pesticide application in the past two years, and be relatively flat and accessible, without being too accessible to outside traffic. Tunnels have to be 20 feet apart from each other, and we try to keep the spacing to around 50 feet between the treatment groups. For those of you who like math, that’s 4,000ft2 per tunnel, with 4000ft2 between tunnels and on each side. For each treatment block, that’s approximately 32,000ft2 or 0.73 acres, and that’s only if you get a consistent bloom across an area that big and can perfectly space everything. Usually, you’ll have to move a tunnel or spacing to avoid a ditch, rock, bald spot, or bad growth area in the field and it will take a lot more space than that. To get the best spacing, it usually takes us about eight to 10 acres for a study with 15 or fewer tunnels.
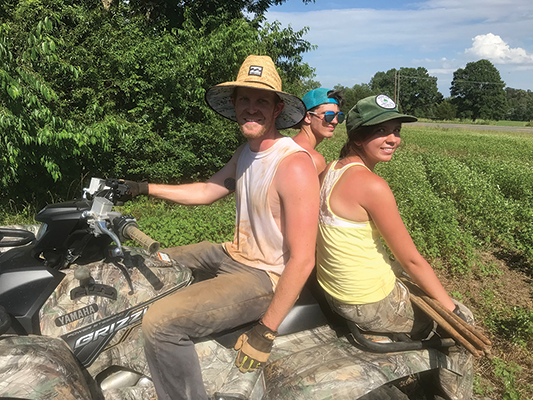
Moving rebar around the field is easier with a four wheeler.
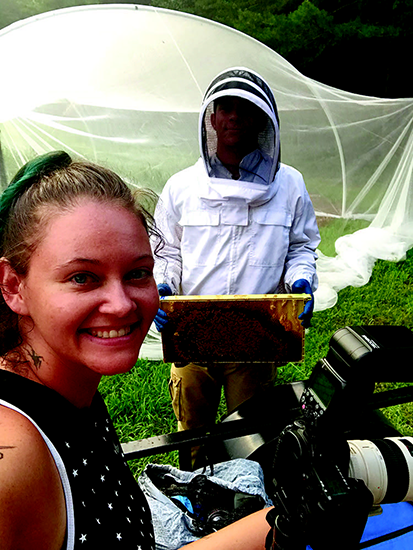
When I say tunnels, I don’t mean that we’re digging trenches in the ground and creating subterranean bees. We are constructing what appears to be temporary greenhouses made of mesh over plastic hoops in the field. It usually takes two days to flag out the tunnel spacing and make sure everything is proportioned correctly. There’s also rebar that goes in, or larger pipe has to be pounded into the ground to hold the ribs, which have to be cut to size and are made of a specific grade of PVC, and they have to be anchored and secured with wire rope. Linens go down the center of the tunnel and down each end (to catch dead bees for counting), which requires ground staples every seven feet on both sides and has to be cut to size. Four T-posts are used per tunnel to hold the anchor wire, and then the mesh has to be pulled over and fastened to the ribs. It’s a pretty rough process and a lot of manual labor, but also a lot of construction and measuring skill.
In this same time frame, you have to be able to gauge when your crop will be flowering and know pretty well from the time of planting how long you have and when is the best time to start putting up tunnels. The bees have to go in with enough time to get a couple days of acclimation, and then seven to 10 days of exposure after application, and still have blossoms left for forage. The weather can make a huge impact on how this goes, because a drought can screw up your crop or cause a shortage of food, while rain can both delay your ability to build tunnels and speed up your crop. You also don’t want it to rain within a certain time of application either, but you can only wait so long after the tunnels are built to put bees in. It can definitely be a complicated process.
Working on brood photography.
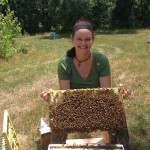
Before the bees go in, they also have to be equalized as much as possible, which can also be about as easy as herding cats. We buy/build/use twice as many colonies as we need, then try our best to make sure that we have roughly the same amount of honey and pollen in all the hives, and enough eggs, open brood, and capped brood, and about the same number of adult bees (within a few thousand). After the hives are moved into the tunnels, we do a Colony Condition Assessment (CCA) on each of the hives to record the starting point, and we photograph the frames to mark the brood. We take photos of the brood for roughly 21 days to see if the brood that was present at the study initiation survives and at what percentage does it survive. This compares the survival of colonies that aren’t treated to the positive control colonies and also to the test substance colonies. The stress of being confined to a tunnel can cause significant damage to the colonies already, so it can be difficult to tease apart how much damage is from the test substance without the presence of the positive control. It’s also stressful for the bees to be photographed in the first place because you have to brush off all the adult bees without dislodging the brood.
When we do these studies, we’re looking at specific endpoints to see if there is an effect. We observe the amount of foraging activity within the tunnels and compare it between treatments by counting the number of foragers within a square meter of a set period of time at three different locations within the tunnel. The linens on the ground catch dead bees that fall from the tunnel mesh and those bees are counted along with dead bee traps that are placed at the entrance of each hive. Pupae, larvae, and adults are differentiated on the paperwork. The assessments on the colony are done periodically to see what the overall change is among the colonies which includes a couple months after exposure to see what the recovery looks like, and the brood photography is completed over five sessions at specific time points.
Bobby demonstrating application for Charlie and Henry.
These studies are designed to be a worst-case scenario with as much control as possible over the variables. As with any field setting, there’s only so much you can control with weather, crop growth, and colony behavior. It’s not uncommon to have a colony swarm within a day or two of being in a tunnel, just from the stress of confinement. If it rains too much, the exposure is lower than it should be, which also reduces the food intake and causes the colonies to start eating their brood. If they eat their brood, it may have nothing to do with the test substance and everything to do with the weather and confinement, but it makes the brood photography turn out pretty badly and there’s nothing you can do. You may get a heat wave right when you start the study and only have a few hours of food availability before it hits 99º and the bees don’t really fly and the flowers don’t produce nectar. There are a lot of things that can happen in these studies and it can be incredibly frustrating.
Henry taking samples in a sampling funnel.
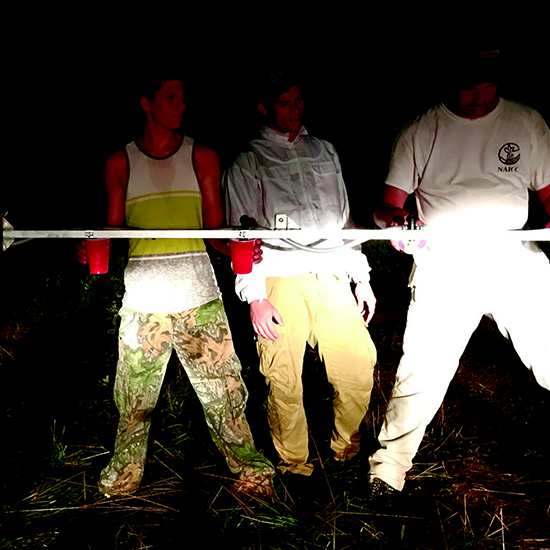
When we do the applications, it also gives a lot of room for error. We are calculating a field spray and normally having to do some various conversions between volume and mass, metric and standard measurements, and calibration of nozzles and pass times and spray area. It can be very easy to make a small error on an application calculation that throws off the rate enough to cause problems. We also have custom built applicators with 18-foot boom sprayers that are designed for day use or night use with LED lights. However, rough terrain doesn’t always work well and you might have to compensate for a PSI change if you can’t keep the tank charged or don’t account for enough overage.
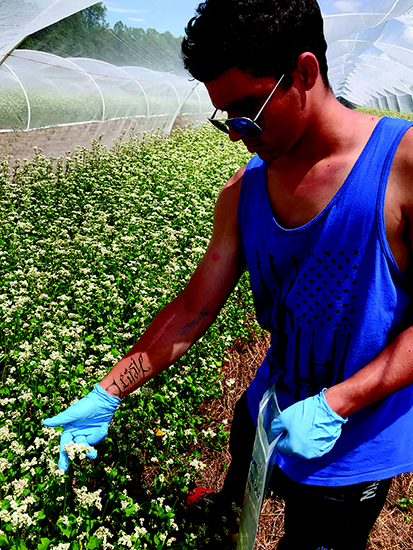
In addition to these tunnels, we often take samples from within the tunnels and the colonies to determine residue levels. We can’t really sample from the normal tunnels because we would be taking their food stores and opening them up a lot more. It would give too much of an effect on the colony health. That means we have to have at least one extra tunnel per treatment just for sampling. These are usually hives that are a lot larger because we put pollen traps on them and sample 300-600 foragers four to five times during the confinement period. In the tunnels, the pollen baskets are usually not as big as what you find normally, so the pollen traps don’t always work. We may end up having to sample in-hive nectar and bee bread to compensate if we can’t get enough from vacuuming foragers off the front (which the colonies just LOVE, which I guess you can imagine), plus we sample leaves and flowers to see how long the test substance stays on the plants and expose the bees. It is quite the process and never easy, but you can usually get a pretty good idea of what’s happening from exposure. There’s always some issues with testing, but that’s how field work always goes!
Jessica Louque and her husband, Bobby run Louque Agricultural Enterprises, a contract research business specializing in apicultural studies.