by James E. Tew
What a pleasant surprise
Last month, I wrote that, “I would like to come up with a design for individual hive stands rather than the communal stands that I now use. If any of you have an idea for such a hive stand, I would enjoy having a look at it.” Some of you responded with photos and information about your personalized hive stands. All beekeepers have hive stands of some sort. Here’s a look at what some of your peers are using.
L.C. from Northeast Oregon
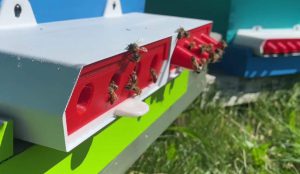
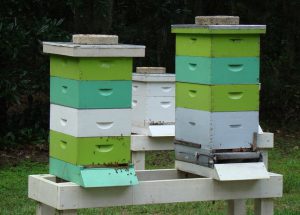
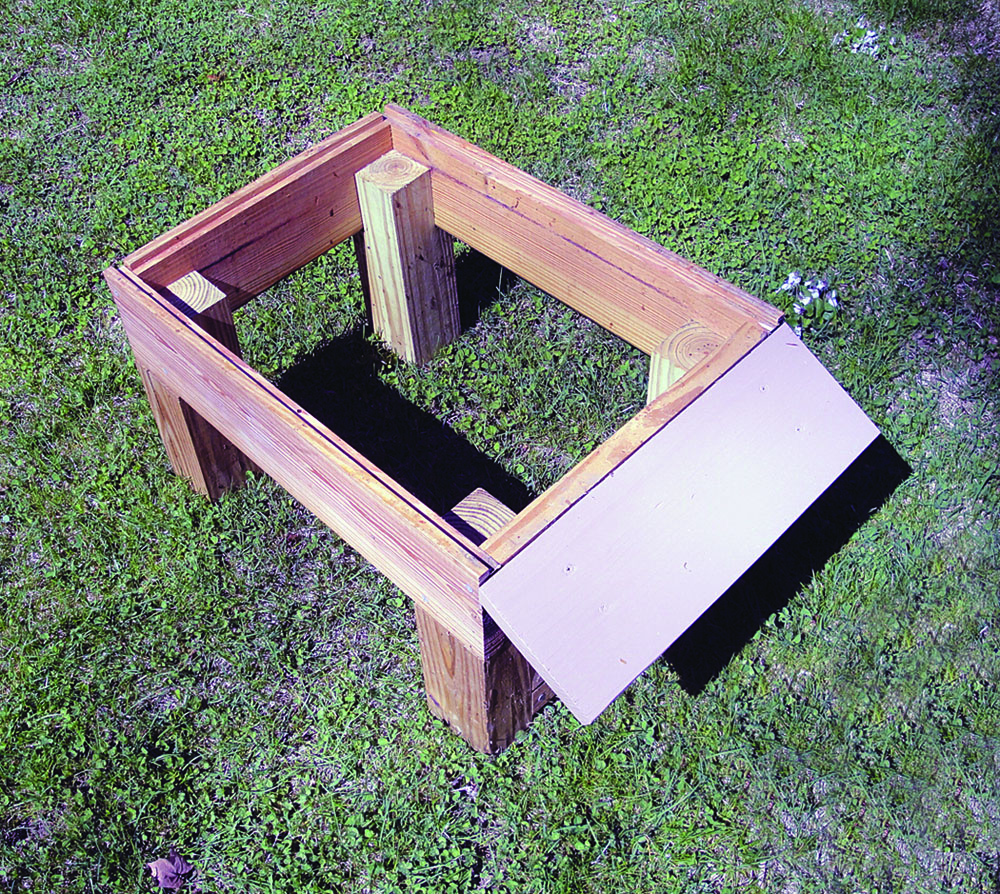
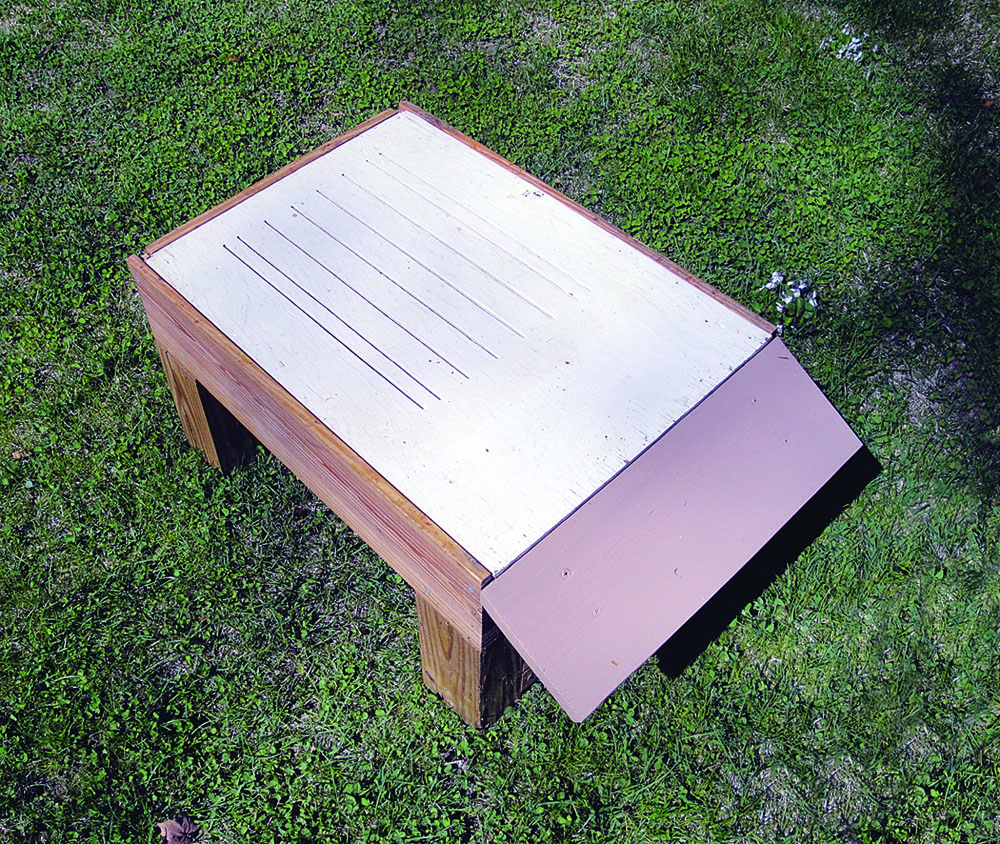
I read your article in Bee Culture magazine and am sending you pictures of the bee stand I made from 2x4s and 1×4 scraps and a picture of my bee set up. The stand is 18” tall and made for eight-frame hives. We have skunks in NE Oregon, and I thought a stand was something that ought to be made for the bees’ sake. This is what I came up with.
L.C.’s hive stand for an eight-frame colony.

L.C.’s hive stands and convenient work table with storage.
E.K. from Manlius, NY
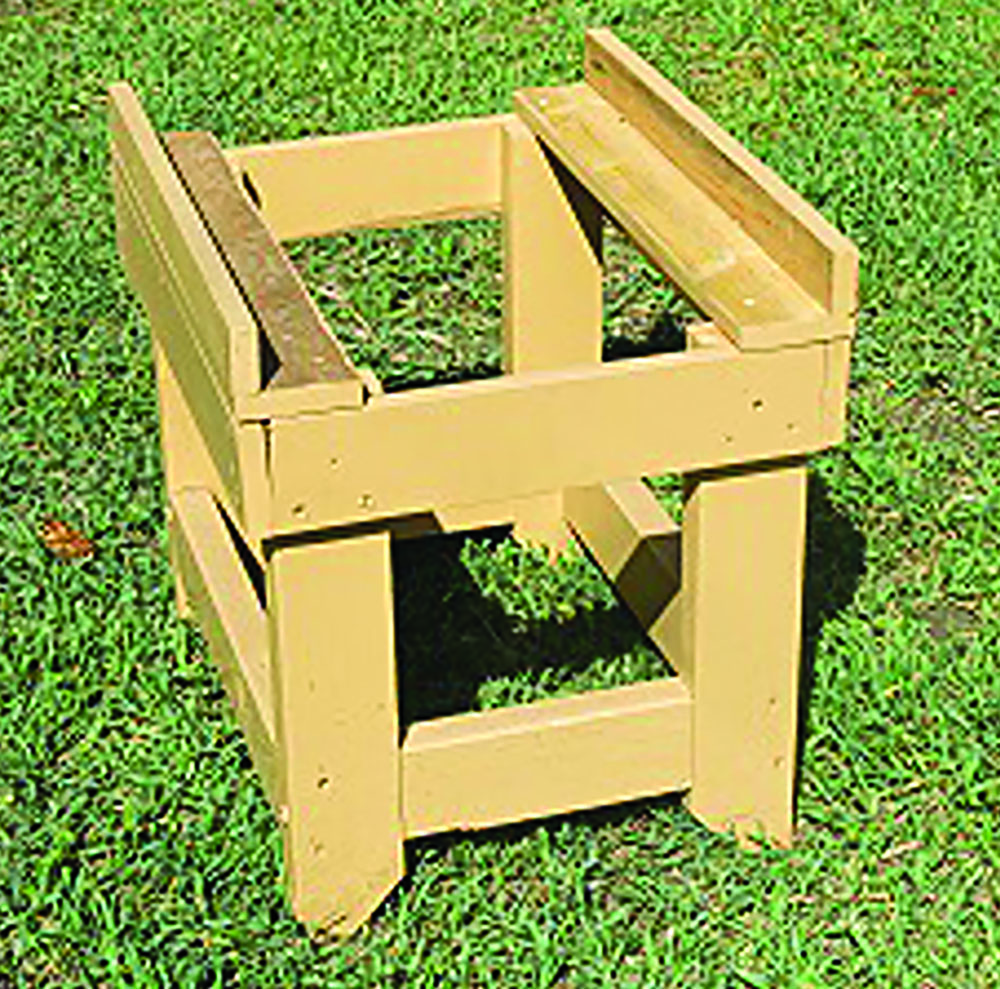
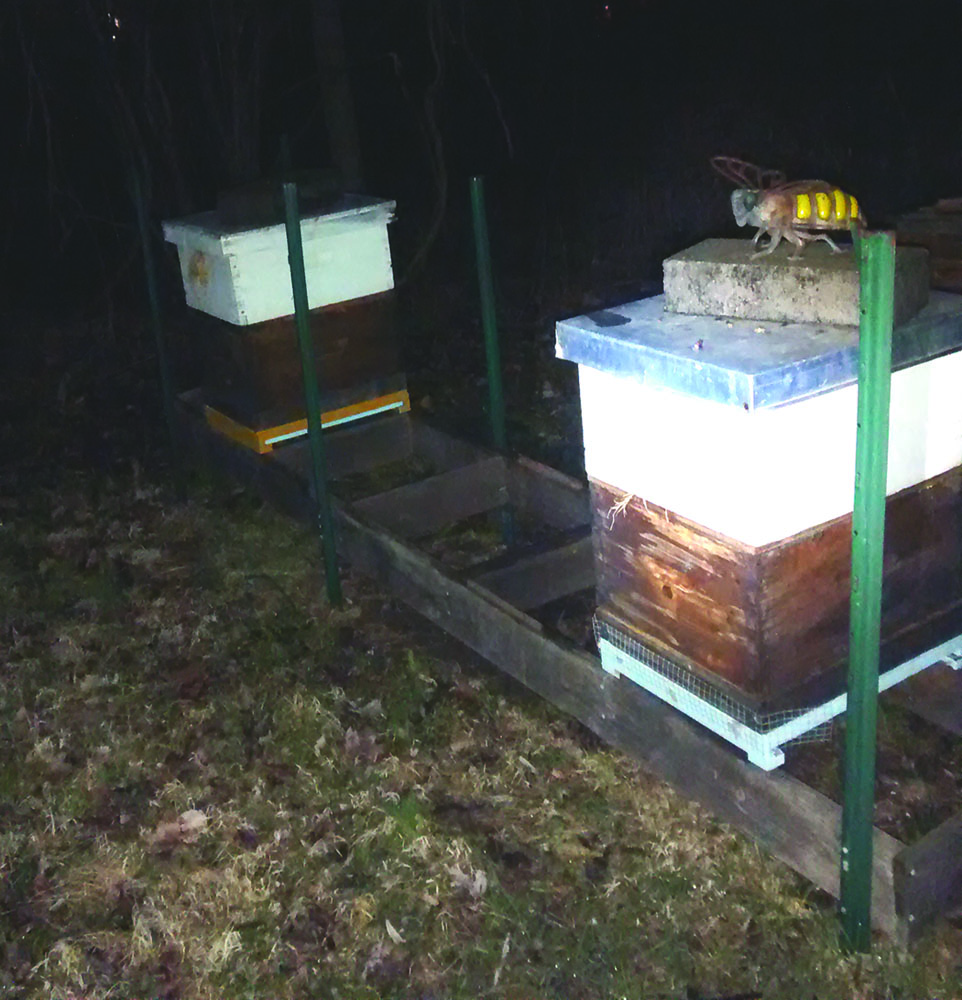
In response to your request for a hive stand, I am providing you with my design, which has stood the test of time. I have tried commercially produced stands with built in Varroa trays, concrete “cinder” blocks, 4” x 4” multi-hive rails, etc. This has ended up being the best (especially for northern beekeepers) and represents the culmination of ideas from other beekeepers and my own experiences. While it can be used as is, I designed it to work in conjunction with a screened bottom board of my own design (no mite tray) and black panels on all four sides to provide a dead space and control winds and Winter weather.
Here are the benefits of the design:
1. Stands have been made with pressure treated lumber. I now use weathered pressure treated due to all the discussion about the impact on bees.
2. Approximately 16” off the ground to lessen the impact of skunks and other varmints. Height is less than 16” to maximize standard lumber dimensions.
3. Stand is flush with hive bodies on three sides to eliminate a perch for varmints (except the front where the bottom board overhangs). Landing board, part of bottom board, is just over 1” wide.
4. Stands are put on bricks/rocks rather than direct contact with the soil to increase life. I like to use two 2” x 8” x 16” solid concrete blocks (the kind used to cap a cinder block wall). I place one level under the front feet and one under the back feet.
5. The stands I use also have plywood panels on all four sides, painted flat black, to provide a 16” “dead space” due to the screened bottom board that the bees seem to like allowing the queen to lay down to the bottom of the lower box. The panels are removable for the Summer, although I have evolved from removing all four – to only removing one on the southern exposure – to leaving them on year-round. There is enough gap at ground level for plenty of ventilation although beekeepers in other climates may consider using a lighter paint color or foregoing altogether. I developed a system that allows me to install and remove the panels without tools, although it still needs some improvement. The reason the panels are painted “flat black” is to maximize solar gain at mid-day in the Winter, which allows the Winter cluster to move to honey stores during the more marginal cold spells.
6. Simple screened bottom board is placed on top to provide ventilation, lessen the impact of Varroa and create a dead space below.
7. Height above the bottom board screen/landing front is only 3/8” high rather than the traditional ¾”. Never had a mouse enter unlike my experience with ¾” traditional height rims (p.s. got the idea from a polystyrene BeeMax bottom board that I tried. It only has a 3/8” high space).
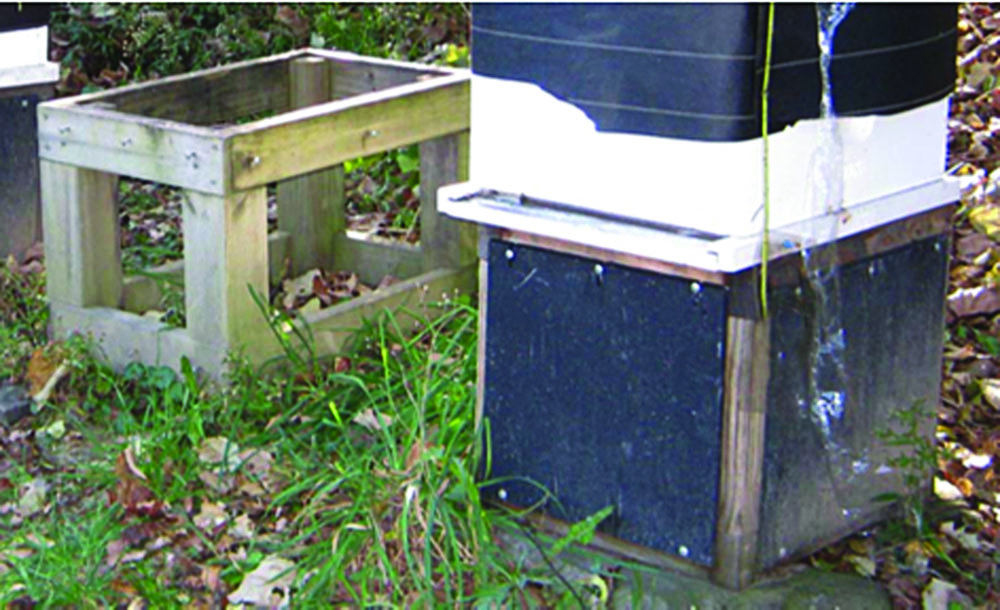
Hive stand without and with panels installed.

Wintering colonies with protective wrap.
M.K. from Niskayuna, NY
Attached is recent picture of a hive stand I made. I made a 2×8 (2×10 would work, too.) rectangular structure with front to back cross pieces to maintain a width for the hive boxes, replacing concrete blocks that frost-heaved. This was screwed into garden fence posts that were hammered well into the ground. I added some small one-foot length one-inch angle brackets to keep the hives from sliding off, as there is nothing under them.
Frames that are removed from the colony for inspection can be temporarily stored in the structure’s open space.
Garden posts with 2×8 frame bolted to it.
R.O. from Clinton, NY
I am a hobby beekeeper with about 10 hives. This is a stand I have all my hives on. It’s about 13 inches high I use screened bottom boards and slatted racks. I can slide a sheet of quarter inch plywood under when treating or testing for mites or for Winter.
R.O.’s basic hive stand.
Hive stand with
plywood insert in place.
M.H. from Boulder Creek, CA
My husband and I are hobbyists now entering our fifth year with bees. We live in the redwood rain forests of the Santa Cruz Mountains about 30 minutes from San Jose and 30 minutes from Santa Cruz on the Monterey Bay.
When not suffering a drought we can see up to 70 inches of rain between Nov 1 and May 1 with an average of about 55 inches. In winter evening, temperatures can be in the low 20sF with an occasional dusting of snow. In summer we frequently hit 100°F during the day. We also have all sorts of wild life to contend with ranging from raccoon, skunk, and possum to coyote, bobcat, and mountain lion (no bears).
When we decided to enter the beekeeping arena, we wanted hive stands that would keep the hives stable, off the ground (out of flood waters and away from the cooler air) and protected from Winter storm winds and hot Summer heat. We opted to position our hives along a six-foot western fence for wind and sun protection.
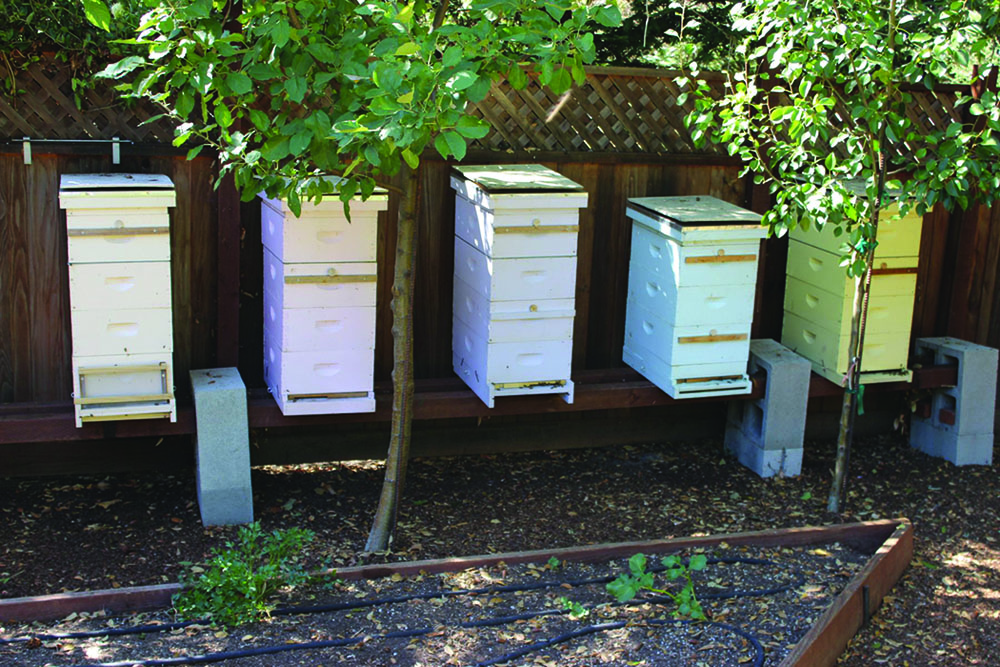
Hives positioned on 4×5 posted and cement blocks.
We came up with a very flexible hive stand configuration using groups of three cider blocks at the ends and 4x4s spanning the gap. The length of the 4x4s determines the gap distance.
Some folks may feel the 4x4s are too close together offering too little support front to back. We have not found this to be an issue. The hives could be angled to further reduce drifting possibilities. Ideally two hives on an eight-foot span gives ample space for placing equipment during inspections. We are currently set with three colonies in that span and things are a bit tight.
Last year most colonies were five or six boxes high – about 200lbs each – so weight on the 4x4s is not a concern. (We run all 8-frame medium equipment on screened bottom boards (open year round), with slatted racks and Vivaldi boards instead of inner covers.)
With our hives abutting the fence we must stand between hives for an inspection rather than behind. It’s not ideal, but we have gotten used to it. Eventually we will lose a colony and regain the space between hives. (We have had an exceptional success rate with zero losses to date.)
Commercially produced hive stands
During recent years, commercial companies began to design and market hive stands that were made of some combination of wood, metal or recycled plastic. Since I am a longtime beekeeper I was trained many years ago to use the typical cement block hive stand – two blocks front and back of the hive bottom board. I have never really liked cement blocks for this use. The blocks were just ever-so-slightly too narrow and to this day, they are very heavy.
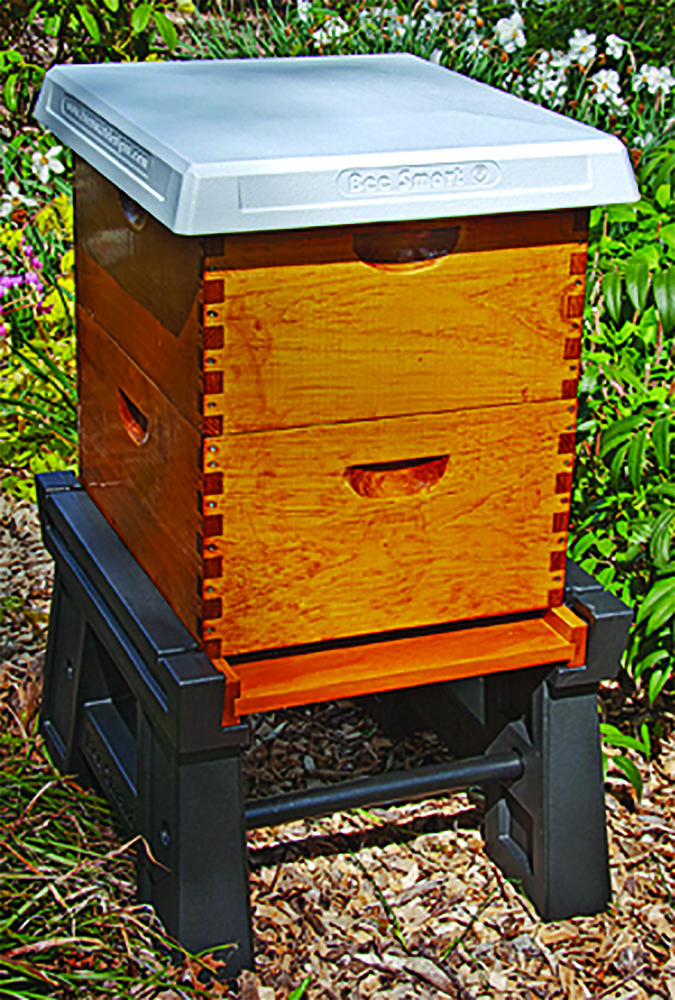
The “Ultimate Hive Stand.”
BeeSmart Designs produces a plastic hive stand that is available from many bee supply sources. Again, I confess that I have never – up to this point – used this or any other manufactured hive stand so my comments here are not an endorsement of the product. Since BeeSmart responded with information about their product, I am including it for your review. Some characteristics of the hive stand are listed below.
1. Raises hive 12” off ground for easier access and better ventilation.
2. Works with any bottom board, no wood hive stand needed.
3. Hive sits on heavy-duty rails for total support.
4. Available for eight-frame and 10-frame hives.
5. Built-in drains keep hive and hive components dry for longer life.
6. Large footpads spread load and ensure stability.
7. Fast and easy assembly. Less than two minutes with only a screwdriver.
8. Ballast ports allow legs to be filled with sand for additional stability.
9. Made in USA from recycled materials.
After all is said and done….
In 2008, I wrote an article for Bee Culture named “The Lowly Hive Stand.” I went into some detail about the basic features that solid hive stands would need. At that time, other than educational efforts intended to help beekeepers of all levels, little was decided and no specific model arose to the top of the hive stand pile.
Through the years, nearly everything plausible has been used to support beehives. The time-honored slanted landing board style is still in all the bee supply catalogs. To my thinking, the only true benefit was that it kept the hive about four inches off the ground. It has a slanted landing board with the notion that it somehow helped heavy-laden returning foragers alight more safely. The main attribute that I found to be dependable was the appreciation that mice showed for being provided such a protected and warm nesting site beneath the hive. These four-pieced cypress devices have come as close as possible to being the standard hive stand. They were cheap, they were simple, and they worked (some). Indeed, the hive stand has always been a piece of beehive equipment that encouraged creativity. To many, nearly anything can be used as a hive stand, while others devise unique designs, and now many of us just buy our hive stand from commercial suppliers.
Why does the hive stand remain the most non-standardized piece of hive equipment? I’m guessing that it is because our time-tested system of keeping bees in artificial domiciles requires beekeepers to keep the hive too near the ground – but that’s just me. There is no “natural” model for designers to follow because temperate honey bees rarely nest near or on the ground. On occasion, one may find a colony with the entrance near the ground, but the internal nest will be much higher up within the wall or hollow tree.
I simply must give up….
I have invested more than three hours time searching for a single black/white photo that I have seen of 20-30 beehives on a high platform in a Tupelo swamp. Through the years, I have seen this photo time and again, but now I simply cannot find it. The high platform was built to protect the hives from bears in southern Tupelo swamps.
I’m frustrated because this photo would help make my point – these tupelo-honey-producing beekeepers had unintentionally positioned the colonies on the perfect hive stand 10 to 15 feet high – perfect for the bees but probably not for the beekeepers. The amount of labor required to build the heavy platform in the swamp is mind-boggling.
But that is not the only reason hive stands designs have always been wishy-washy. Space requirements. Even in our earliest beekeeping years, hive stands were unloved. Think about it. You are using a horse-drawn wagon loaded with bees and beehives. You travel at a glacial pace out and back. So you feel that using a good part of the wagon space to load hive stands is a good idea. Nope. In some of the old photos, beekeepers cut sections of old growth trees (about 10 – 12 inch thick wheels) to provide “disposable” hive stands. They were cut near the yard and were never moved from that yard. So cheer up beekeepers. Todays hive stand styles are as good as they ever have been. In fact, this may be the golden age of hive stands.
Dr. James E. Tew, State Specialist, Beekeeping, The Alabama Cooperative Extension System, Auburn University; Tewbee2@gmail.com; One Tew Bee RSS Feed